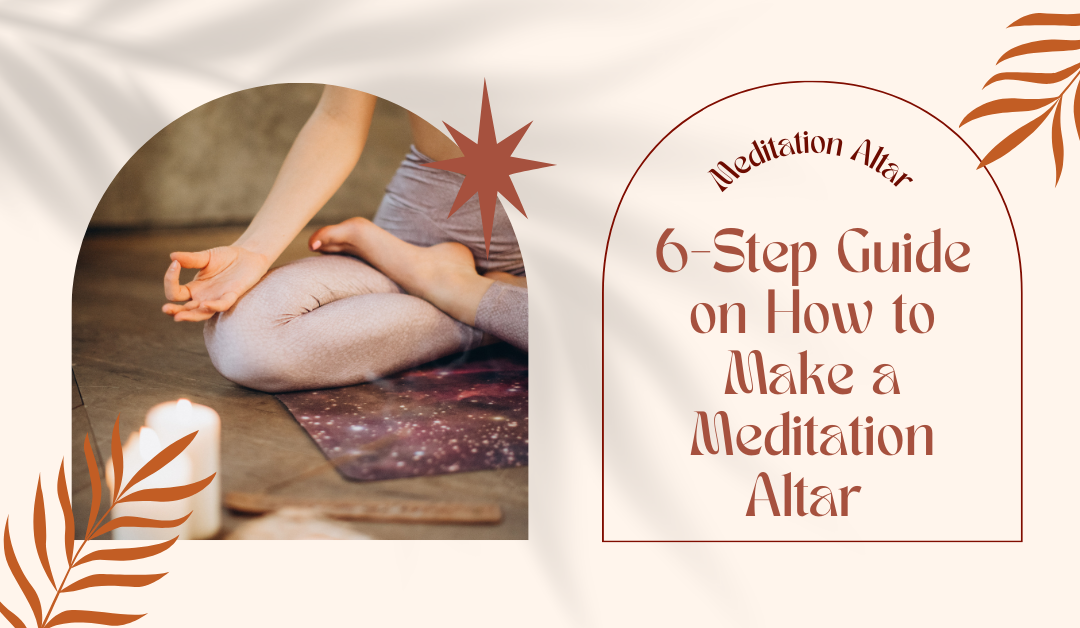
Learning how to make a meditation altar can take the fun out of meditating. You’ll need to spend time and money on your table, supplies and other times. But if you’re new to meditating, your goal should be to practice daily.
However, if you’re an avid meditator, an altar can help strengthen your practice and make it easier to get into the meditation mindset.
What’s the goal of this space? You’ve likely seen an altar before, but if not, you can see them in the Butsudan, or in the homes of Japanese Buddhists. However, these altars are meant to honor loved ones or the Buddha.
With this in mind, your meditative altar focuses on your practice with:
Ornate décor
Focal points for meditation
Tools you can use for meditation
I do want to be abundantly clear that these altars are not tied to a religious affiliation. Instead, the area is meant to help you with your practice, but if you do want to make it religious in nature, that is 100% up to you.
2. Carve Out Space for Your Meditation Practice
Meditation requires an immense amount of concentration and “being.” If someone comes and knocks on the door or your dog keeps trying to give you kisses, your meditation practice isn’t going to work well for you.
You need to carve out a space and consider the following:
Search for a space where you have the lowest risk of being interrupted
Consider natural light and being able to see the outdoors
Choose a calming space that you like
You can work on making this space comfortable, too. Comfy cushions on the floor, an incense burner or something similar and even a sound machine can be added to the space. If you live in a home where noise is almost impossible to eliminate, you may want to invest in a white noise machine.
Everyone who meditates deserves to have a space to call their own.
Make your space something special.
And now, you can focus on the altar. I’m a true believer that the space is more important than an altar, so always start with your space before worrying about the next steps.
3. Setup a “Meditation Altar Table”
An altar for meditation is often associated with a table, but you can use shelves or anything higher or lower than you. The one thing I do want to mention is that if you practice candle meditation, be very careful of using candles on shelving.
You can add a tablecloth to the space if it helps, too.
However, if you don’t have the room for a large, dedicated space, don’t worry: floor altars work well, too. Normally, you’ll find people sitting on yoga mats or blankets and have an altar in front of them.
With a floor altar, you can take it out when you need it and put it away easily.
For anyone in a flat or small apartment, the floor altar may be in your best interest.
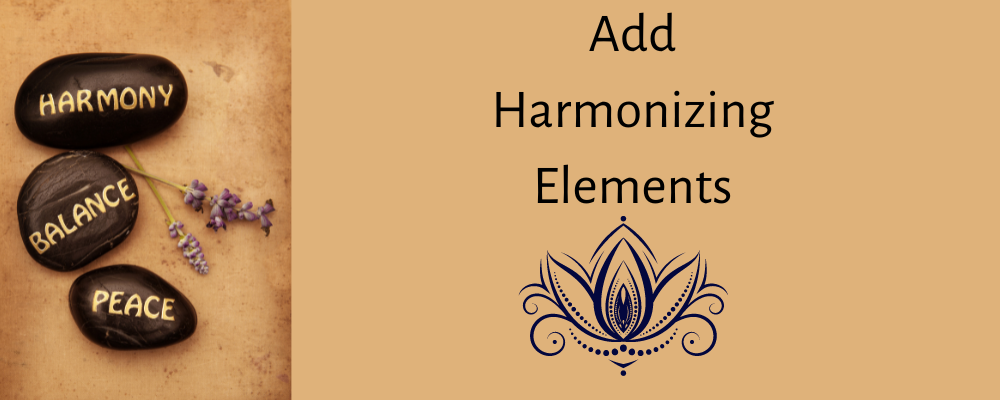
4. Add Harmonizing Elements
Harmony is one of the main goals of an altar. You want the space to free your mind, add a calming effect and potentially bring the outdoors, indoors. Studies even show that spending time in nature helps with:
Mental clarity
Calmness
Anxiety
Attention
And all of these are great for your practice. You have a few options here, such as:
Earth elements: Such as plants or wooden items.
Flowers: To add a nice scent to the space and provide additional earth elements.
Candles: A representation of the fire element, candles will provide a sense of harmony. You can even try electronic tealight candles for added safety if you like.
On my own altar table, I have a Buddha water fountain, which provides the soothing sound of water and makes the area more calming. You can add anything to the space that helps bring harmony and a sense of calming.
If you add items that are too distracting, you will make your meditation even more difficult.
5. Think About Your Must-Have Meditation Tools
Meditation altar supplies can include a lot of different items, but there are a few meditation tools, which you can use during your sessions. If you do use tools, they should be on your altar so that they’re easily accessible when you need them most.
A few of the most common tools for meditating, include:
Singing Bowl: The Tibetan singing bowl is a powerful tool that uses sound to help with healing. Many people will use these sounds to open up their chakras.
Tuning Forks: If you don’t like the bowls above, you can consider tuning forks.
Candles: Candle meditation is a very popular practice, so you may need candles.
Oil diffuser: Scent can help provide energy and calming effects and really help you get into the meditation mindset.
You can also consider crystals, prayer beads or other items that you need for your practice.
6. Consider Other Meditation Altar Supplies
Finally, you can have some fun here and add altar supplies to the space. However, be careful when using candles and do so at your own discretion. The following items are fun additions to your dedicated space or sacred altar:
Only you can decide what to put on your meditation altar. But I recommend you focus on removing all negative energy and creating more positive energy.
Honestly, there’s no right or wrong way to create an altar for meditation. Everyone has their own preferences, so just use these recommendations loosely. The goal is to have a sacred space you enjoy.
Note: We wanted to make this article more about setting up your altar rather than filling it with meditation altar ideas. However, we are writing on the topic and will post a list of ideas for you to read through shortly.
Finally, now that you know how to make a meditation altar, you can begin designing your own. Take your time, have fun with the process and add to it as your tastes change or you find another, neat way to make it better.
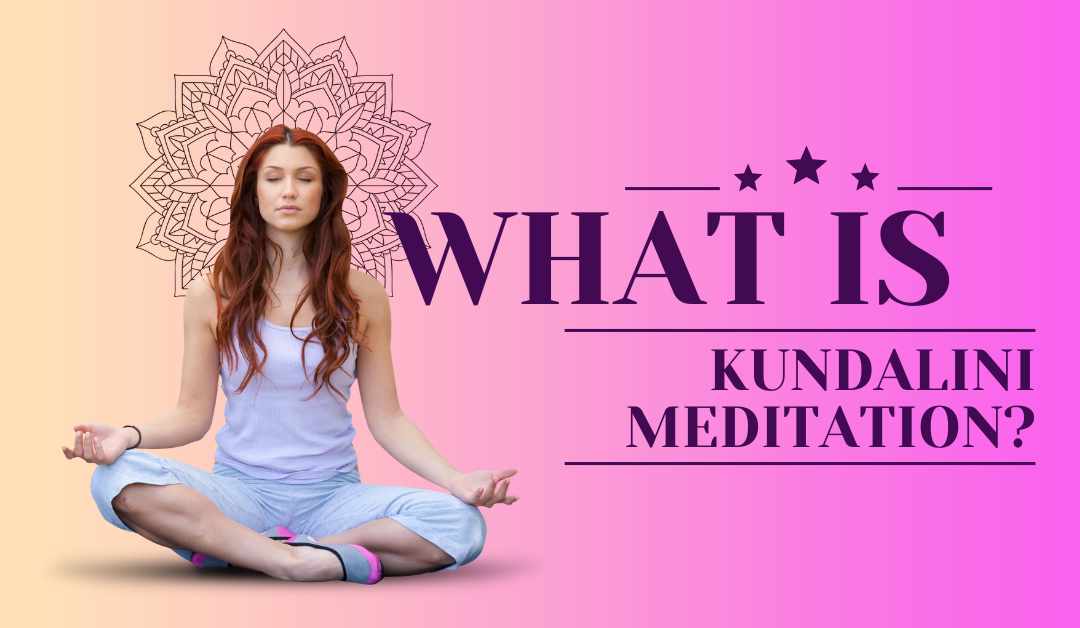
Meditation is a way to help you increase your awareness and intention, release stress and better your own life. But, there are a lot of different practices to follow. Today, we’re going to answer “what is Kundalini meditation,” how to do it and tips on practicing.
You might find that this form of meditation is perfect for you, but if not, don’t worry.
Kundalini meditation’s origins are somewhat of a mystery, but we do have records of the practice in 500 – 1000 BC. However, the Western world can thank Yogi Bhajan for bringing this practice to a wider audience in the 1970s.
Where things get a bit confusing is that Bhajan states that the practice dates back to 26,000 BC.
But, while we may never know the origins of this practice, we do know that it:
Remains part of Kundalini yoga
Revolves around the concept of the base of energy being in the spine’s base
Includes chakras, starting with the root chakra, or the one in the base of the spine, and releasing energy through the remaining chakras and out of the head, or crown chakra
When you practice this form of yoga, you’re going to purposely release energy in the body to create a sort of communication system between the:
Mental state
Physical state
Spirituality
Once you create this communication system through meditation, it will empower you to form a new, internal rhythm, which allows you to experience a higher version of you.
Note: Kundalini meditation is not a religion or set of beliefs.
Many people are under the impression that this meditation is religious-based, but it’s simply a practice that helps you develop mind-body awareness centered around the energy centers inside of you.
How to Do Kundalini Meditation
First, before you do anything else, you need to set your space up properly. Every form of meditation will require this setup, which includes:
Creating a comfortable space that you can sit in without discomfort for your entire session.
Removing all distractions from the space, including kids, animals, smartphones and anything else.
Choosing a mantra that you’ll say during your practice.
Deciding on how long you’ll practice and when. Many people practice right before bed as a way to wind down for the night.
Finally, you can now begin your practice. I do want to mention that putting meditation practices into words is always a little difficult for me.
Are you more of a visual learner or rather have someone to follow when starting your meditation? We’ve listed quite a few YouTube videos below that can guide you through your first Kundalini meditation practice.
Sit Down and Get Into You Meditation Pose
Sit down with your spine straight and upright. Close your eyes almost 100% but just short of it. Then, you can begin:
Focus on the present
Envision energy blocks releasing
Begin Saying the Mantra You Chose Earlier
Mantras help you focus, and you can say one or many throughout your meditation. For example, you may say “sat nam” routinely and then “sat” when inhaling or “nam” when exhaling.
What does this mean?
Sat nam = trust in my essence
Focusing on Your Breathing
Breathing is one of the most important parts of meditation, and it’s one of the most difficult aspects for people just starting their practice. Focusing on your breath is how many people bring themselves back to the present when their mind begins to wander.
A good way to breathe is 4-7-8 breathing:
Breathe in for four seconds
Hold for seven seconds
Exhale for eight seconds
Repeat.
Focusing on your breath will help you master this form of meditation.
Finish Your Practice Strong
Come out of your meditation slowly. A lot of people are on a time schedule, so they’ll set a timer to alert them when their session is done. You’ll want to take it slow coming out of your practice, by:
Opening your eyes
Inhaling slowly
Exhaling slowly
Raising your arms in the air
Getting up
I personally like to spend a few minutes tidying up at the end of meditation to further help clear my mind.
And, that’s really it. Meditation sounds easy when reading and writing about it, but it demands a high level of practice and intention for it to benefit you. Over time, as you progress, slowly increase your meditation practice
Kundalini Meditation YouTube Videos to Follow
10 Min Kundalini Kriya For Awakening For Beginners
If you have a quick 10 minutes, this is a great resource that will help you through your first meditation. The guided video will help you energize your day and clear your mind while filling your body with prana.
If you would like to go through a longer, guided meditation practice, this video is a good choice. In total, the video lasts for over 30 minutes and will help many people reach a heightened state of awareness for weeks.
Bonus: Kundalini Yoga: Awakening the Shakti Within
Sadhguru is someone that I follow personally and find solace in his teachings. In this video, he does an amazing job at explaining Kundalini meditation in ways that I cannot.
P.S. We’ve also just written a great guide on YouTube sleep meditation that you might enjoy reading.
5 Tips on How to Practice Kundalini Meditation
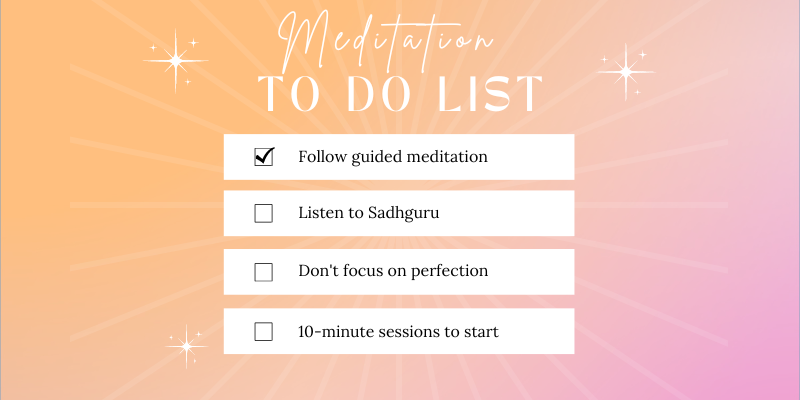
Start by following guided meditation practices.
Heed Sadhguru’s advice that this is a dangerous form of meditation due to its potency and needs the necessary support when attempting it.
Avoid focusing on perfection and focus on practice and consistency.
Start meditation with comfortable clothes and in a comfortable space.
Begin your practice slowly, dedicating just 10 minutes to it per session before increasing.
If you don’t find that Kundalini meditation works for you or it’s just not something you have fun with, read our article Why Doesn’t Meditation Work for Me?
What Is Kundalini Yoga Meditation?
Kundalini yoga meditation uses yoga to improve the flow of energy through the use of breathing exercises, asanas and meditation. Unlike the seated meditation discussed above, this practice is more physically intensive and works to reshape your:
Mind
Body
Emotions
Spiritualness
What Is Kundalini Chakra Meditation?
This is a general type of meditation that was discussed throughout this article. Your meditation will move energy through the body and help open up the many chakras that are blocked.
What is Osho Kundalini Meditation?
Osho Kundalini meditation is an in-depth practice that truly warrants its own guide to fully understand. However, the ideas are easy enough to put into words and are listed below:
Shake and dance meditation
Four-stage process
Performed in the late afternoon or at sunset
Works to improve energy flow
Brings joy and bliss
The concept is based on dancing and shaking, which is thought to allow liquid to flow into areas where energy is blocked. The entire first two stages of Osho revolve around liquids, while the last two work to push the energy upward.
What Is The Difference Between Kundalini Yoga And Meditation
While Kundalini yoga and meditation are fundamentally different, they do try to bring the same benefits to their practitioners. A few key points to remember are:
Yoga uses breathing exercises, mantras, poses and meditation.
Meditation is a consistent practice and an ancient practice that trains just your mind.
And, you can try both yoga and meditation to see which one works best for you. There’s truly no wrong or right answer on which to practice. Some people find yoga tires the body and mind so that they can train the mind, while others may have mobility issues that stop them from doing yoga and would rather focus on meditation.
What is Kundalini meditation?
It’s a way to open your chakras, allow positive energy to flow and helps you reach your fullest potential.
Spiritual practice, or “bettering yourself,” is something that I’ve been trying to focus more on in life. Active meditation seems to help me a lot by allowing positive energy to flow in while helping me release some of the negative energy that seems to creep in from time-to-time.
If you’re looking to open up one of the many chakras you have and expand your awakening of consciousness, give Kundalini meditation a try.
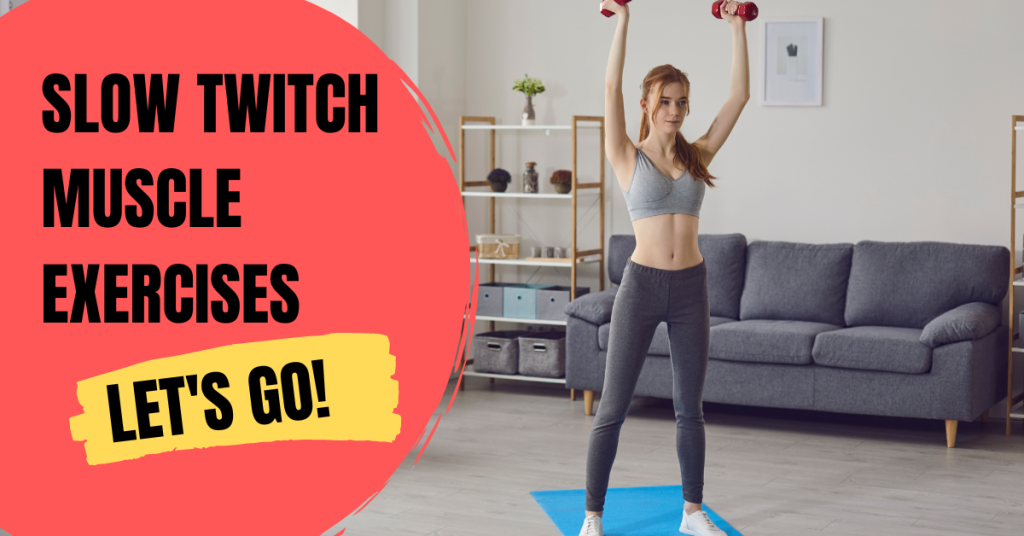
Slow twitch muscle exercises are crucial for endurance athletes, and many studies show that endurance athletes actually have more slow-twitch vs fast-twitch fibers.
Why?
Endurance athletes train with:
Low resistance
High reps
It’s no secret that if you want to run a marathon, you need endurance. Slow-twitch fibers use lower energy levels than fast-twitch fibers, and they allow you to reach the last mile of a triathlon or have the energy to hike six miles without breaking a sweat.
Why?
Slow-twitch fibers use mitochondria for energy and provide their own source of energy. If you need to do any activity for a lengthy period of time, the fibers’ ability to create its own energy is going to be crucial to your success.
We’re going to cover exactly how to perform these exercises and a few that you should incorporate into your workout routine.
What You Need to Know Before Focusing on Slow-Twitch Muscle Exercises
Before we go into specific exercises to engage these muscle fibers, it’s important to know a few things:
Body-weight exercises work very well to improve the concentration of slow twitch fibers
Resistance training can also hit these muscle fibers, but you will want to focus on high reputations for aerobic metabolism, which is a fancy way of saying keep your reps at least 15 or higher
Rest periods should be kept low, in the 30-second range, because you won’t need the lengthy rest period required to replenish ATP energy
Weight, if you’re using resistance, should be no more than 50% of your one rep max, unless you can do a higher percentage for 15+ reps
You can incorporate cheat exercises when trying to reach higher reps, such as 30 or more. However, you do want to be cautious of your form because some exercises can cause injury even if you’re using a much lower weight than you can handle on a typical day.
Worth Reading
We’ve dived into slow and fast twitch muscle fibers quite a bit on this site, and we have a few articles that you may want to read to educate yourself further on this topic:
Finally, let’s see some examples of slow twitch muscle exercises so that you can begin incorporating them into your routine.
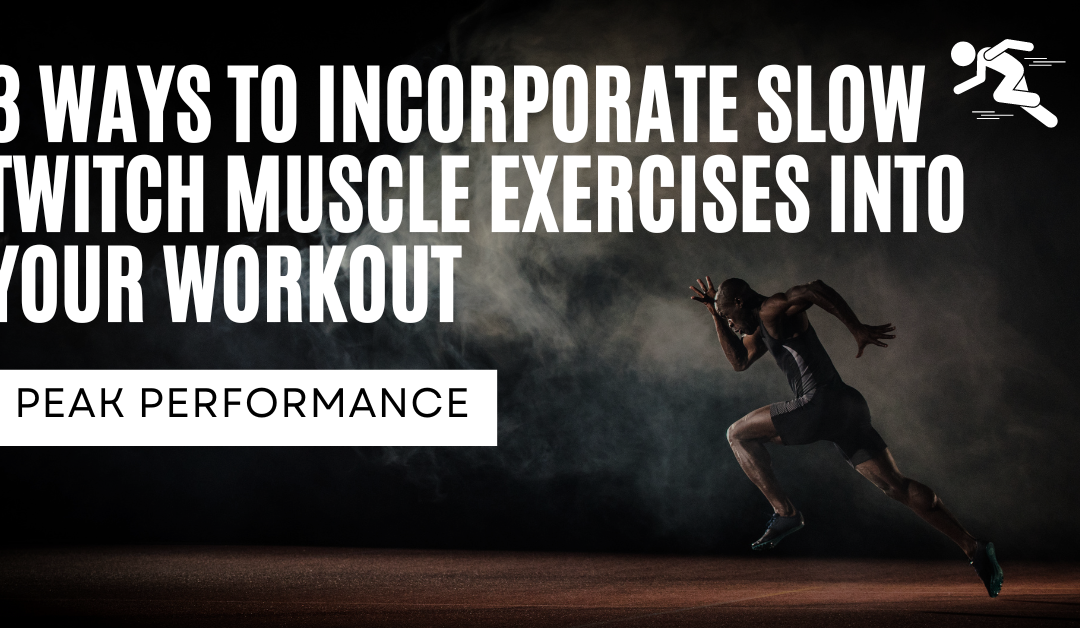
3 Ways to Incorporate Slow Twitch Muscle Exercises Into Your Workout
1. Low Weight, High Reps
Lifting weights, using bands or any type of resistance training, can be modified to focus primarily on these muscle fibers. However, you have to consider the type of exercise you perform, too.
Complex movements often engage both fast- and slow-twitch fibers.
The key to building up these fibers with resistance training is:
High reps of 15+
Sets of 3+
Rest of 30 seconds or less
You don’t want to perform explosive reps out of fear that you’ll engage more type II fibers. Instead, slow, controlled and volume are what you want to focus on here for proper muscle fiber engagement.
If you want to be the best athlete you can be, you’ll find that these types of exercises and an endurance workout plan will help round out your fitness.
2. Burnout Sessions
Burnout sessions are going to be questionable for a lot of people reading this article because you’ll work on both types of muscle fibers. For example, you may do the following:
4 sets of 8 seated rows
1 set of X seated rows to burnout
You can do this with any exercise, such as shoulder press, bench press, deadlift or any other that you see fit.
When you’re done with your “strength” training, you’ll lower the weight and perform as many reps as you can until you reach failure.
Burnouts are performed by doing one exercise at the end of a workout.
For example, you may burnout with rows as your last exercise on back day. However, you can do the same with your biceps, triceps – any muscle. But, you also want to be sure that you use precaution to not cause injury on the final reps.
Someone burning out with squats, for example, will want someone to spot them to ensure that they don’t collapse at the end or can’t get up from the squat.
Something to Remember
Performing high reps will often help you finish your workout faster. You won’t need to spend time warming up before a workout and the 30-second rest period allows you to fly through your workout.
But if you’re burning out, meaning that you do moderate or heavy weight at some point during your workout, you do want to warm up beforehand.
3. Cardio Sessions
Cardio, and sprinting specifically, is one of the most studied areas of slow-twitch muscle. A great study on this subject found that during 13 weeks of marathon training, and a three-week tapering period:
Type I muscle fibers increased from 42.6% to 48.6%
Type IIa fibers decreased from 40.1% to 35.8%
It’s crucial to note that researchers focused on novice runners because they wouldn’t have the same higher ratio of type I fibers as someone who runs marathons often. In fact, it’s hypothesized that if you already have a large concentration of type I or II fibers, it may be difficult to build more.
Again, the main switch in routine for cardio was to gravitate towards high volume work.
For example, let’s assume that you’re running 1-mile per day.
If you want to focus solely on the slow-twitch muscles, you’ll want to increase this to 2, 3, 4, or more miles a day, thus adding more volume. You don’t want to add resistance, so you’ll avoid focusing on hills or wearing a weighted vest.
The same goes for a cardio machine.
You’ll want to focus on distance without adding in resistance or an incline, which will engage more muscles and add to your type II muscle fibers instead.
Note: Cardio sessions should not include sprints. Why? These explosive sprints will lead to you engaging your fast-twitch muscles. Instead, maintain a steady pace for as long as you can to reach your goal.
Slow twitch muscle exercises may not seem as “impressive” as building mass or hitting a new PR, but they’re crucial to your overall fitness level.
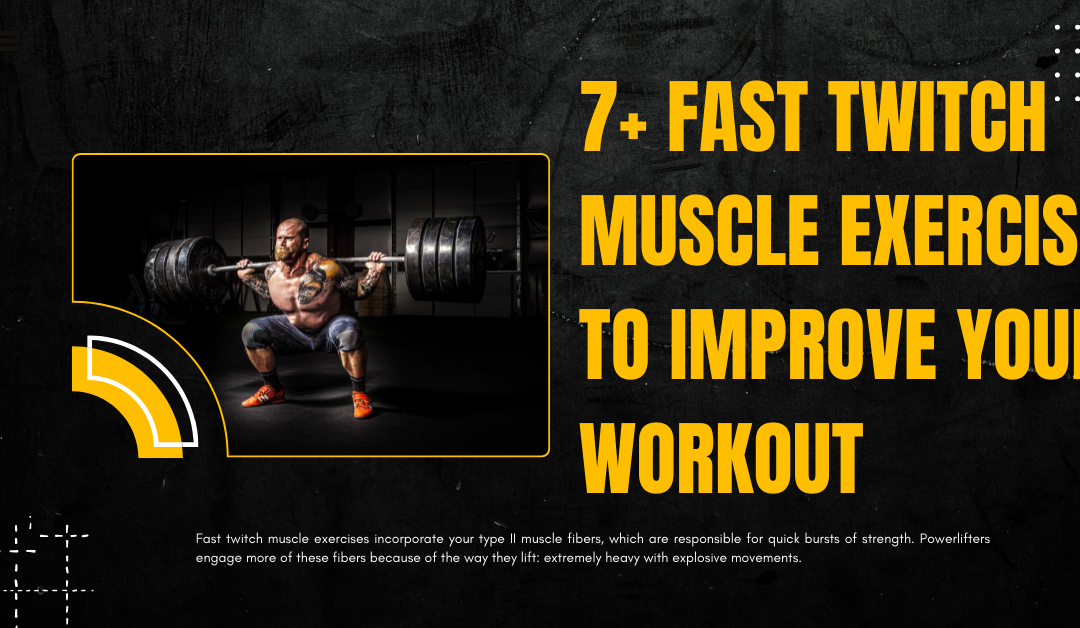
Fast twitch muscle exercises incorporate your type II muscle fibers, which are responsible for quick bursts of strength. Powerlifters engage more of these fibers because of the way they lift: extremely heavy with explosive movements.
If you want to improve your PR or sprint faster, fast-twitch muscles (or really fibers) must engage.
So, you can benefit from exercises to build fast twitch muscle fibers for:
Pure strength and mass
Athleticism
In this guide, we’re going to walk you through a few exercises and routines to add to your training to really focus on the fast-twitch group of fibers.
Tips Before We Discuss Specific Exercises for Fast Twitch Fibers
If you’re an advanced lifter, you can likely glance over this section, but we find it to be crucial for anyone that is new to focusing on certain muscle fibers. Since you need to lift heavy or very intensely to engage these fibers, please follow these tips:
Form: Remain cautious of your form and even look at how to perform some of these exercises properly to lower your risk of injury.
Find Your 1RM: You can find your 1RM (rep max) by finding your new PR. This is the heaviest weight you can push for one repetition. You’ll need to warm up, have someone spot you and try to find your one rep max.
Rest: When lifting heavy, you’ll deplete your (Adenosine Triphosphate) ATP energy stores quickly. Studies find that most people need 2 – 5 minute rest periods between sets to adequately restore ATP to power through your next set.
Reps: You’ll want to keep reps between 1 and 6 at the maximum, maybe 5 maximum. Sets should be 4+.
For every exercise that you’ll be performing for fast twitch muscle fiber building, you’ll want to keep your weight between 70% and 82% of your 1RM. Some research does show going as low as 55% of your one rep max, and you can feel free to do this. However, when you go heavier, you’re really engaging these muscle fibers more.
7+ Fast Twitch Muscle Exercises to Improve Your Workout
1. Pull Ups or Chin Ups
Chip ups are intense, but they work a wide range of muscles. You can also perform chin ups with a powerful burst up. You have two options here because a lot of people cannot do chin ups, but you can do:
Assisted pull ups / chin ups
Weighted pull ups / chin ups
With the assisted variety, you can use bands or some gyms have a machine, which will help you offset the weight. Let’s assume you weight 180 and can’t perform either variation of this exercise. With an assisted machine, you can add 70 pounds in counterweight to help you build your chin up or pull up properly.
For the beasts that are reading this and can do pull ups / chin ups while talking on the phone or browsing Reddit, you can perform the weighted variation of this exercise.
You can see a good example of how to use bands for assistance below:
And if you plan on doing chin ups or pull ups, please watch the video below. Jeff goes through the right way to perform a chin up and pull up and explains in great detail which muscles are engaging with each.
Sprint training is one of the best fast twitch muscle exercises for athletes because it can be performed with running, skating, biking, swimming – whatever activity you require. However, if you’re in the gym, you can also do sprint training on:
Stationary bike
Elliptical
Treadmill
Etc.
The key will be to use resistance when training, or in the case of a treadmill, you can use incline levels for sprint training.
Next, warm up on the machine and then sprint for 30 seconds at the resistance or incline level that’s difficult for you. For me, I often do this on the elliptical and will do something like this:
Sprint at 3 resistance for 30 seconds
Lower to no resistance for 3 minutes
Sprint at 6 resistance for 30 seconds
Repeat and increase
If you’re just starting out, this slow increase will allow you to judge the resistance that you can do. An alternative option is to sprint at your top resistance for 30 seconds at the start, middle and end of your workout. This is what athletes will want to do because my example above likely tires the muscle somewhat before reaching my peak resistance.
One study found that sprinting 2 – 3 times per week for 4 – 6 weeks with 15 – 20 minute rest periods between sprints increased type IIA muscle fibers by 20%.
3. Squat Training
We wrote about leg workouts for strength and mass previously, and we do provide a lot of great form recommendations that you need to follow. Squats are an exercise that you need to do explosively to engage fast-twitch fibers, but you also want to maintain proper form to avoid hurting you:
Knees
Back
Etc.
Put on your desired weight based on the 1RM recommendation above, and perform explosive squats. You’ll likely only be able to perform a handful at 80% of your 1RM max, but that’s perfectly fine. Anywhere from 1 – 6 reps will be fine here.
Just focus on going up from the squat with explosive speed.
You do want to go down into the squat with control to avoid damaging your knees.
4. Bench Press
If you’re trying to build a bigger chest and gain strength in your bench press, you can also achieve great muscle growth and adapt your muscle fiber composition to fast-twitch with a bench press.
There are a lot of variations that you can follow here, but one that I like is to use a board press.
You definitely want to be cautious when benching and use a spotter. The last thing you want to do is drop the weight on yourself and have to recuperate from an injury.
5, 6, 7 and Beyond
A few additional exercises that you can try this with are:
Lunges
Box jumps
Hang clean
Barbell shoulder press
Barbell row
Romanian deadlift
You can adjust many of the exercises to incorporate these explosive movements. However, it’s often best to perform them with compound movements for overall strength increase. If you’re someone who is trying to become the strict curl champion or has a specific goal in mind, simply adjust your workout to meet the fast-twitch activation requirements: heavy weight and explosive movements.
Note: Explosive movements and heavy weights take a toll on your muscles. If you want to see results, you must feed your muscles with protein shakes after workouts, especially when focusing on fast twitch muscle exercises. You also want to get to bed on time and allow your muscles time to repair.
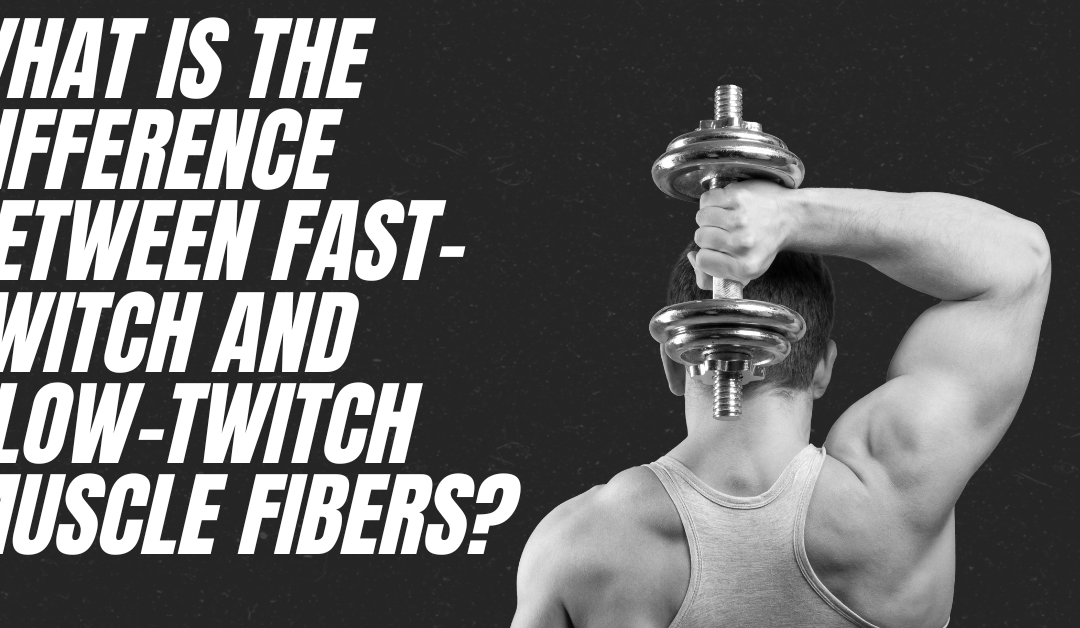
If you’re going to the gym, training hard and seeing results, you probably don’t give much thought to fast twitch muscle fibers vs slow twitch. However, if you want to maximize performance and reach your goals, you need to be able to answer: what is the difference between fast-twitch and slow-twitch muscle fibers?
We’re going to outline:
Different muscle fiber types
Which muscle fibers are necessary for each movement
Exercises that engage different types of muscle fibers
What Is The Difference Between Fast-twitch and Slow-twitch Muscle Fibers?
What are Fast-twitch Muscle Fibers?
Fast-twitch muscle fibers are type 2 fibers. Everyone has type 1 and type 2 fibers, which are slow or fast fibers. If you’re engaging fast-twitch fibers, they’re used for:
Sudden bursts of strength
Big movements
Energy used for fast-twitch muscles is created anaerobically. Imagine working through an endurance workout plan, which may be challenging, but you won’t need a sudden burst of energy for these movements.
However, if you’re powerlifting and trying to bench press 400 pounds, you’ll need to engage your type 2 muscle fibers.
Why?
You need a lot of energy, quick.
Type II fibers also include:
Type IIB/IIX: known for being inefficient yet produce the most force.
Type IIA: known for fatiguing slower and being a mix of both IIX and Type I fibers. These are “intermediate” fibers.
You can train to improve all of these types of fibers, based on your own individual goals.
What are Slow-twitch Muscle Fibers?
If you’re warming up before a workout or training with moderate weight, you’ll engage your slow-twitch muscle fibers. These fibers:
Require slow energy
Activate first
Are ideal for low-intensity activities
Considered your type 1 muscle fiber, these fibers will engage first before your type 2 fibers do. However, most people use slow-twitch fibers because they require even, steady energy to be performed.
When engaged, these fibers will run on oxygen rather than anaerobic energy, like fast-twitch fibers.
When are Fast-twitch Muscle Fibers Used?
Confused? Don’t be. Fast-twitch fibers will be used naturally by your body when they require a fast burst of energy. The massive energy burst will allow you to perform a PR, but then you’re going to need a rest.
Why?
Your energy will be depleted, and rest will help you get it back.
Fast-twitch fibers may be sufficient for a sprinter, and they often have as much as 75% of type II fibers, but they tire out faster than a marathon runner.
So, suppose you’re wondering why sprinters can’t run long distances as efficiently as a marathon runner. In that case, it’s because their bodies have adapted to utilize more type II fibers than type I fibers.
Training discipline would need to change for a sprinter that wants to become a distance runner.
In short, fast-twitch muscle fibers are for power athletes.
When are Slow-twitch Muscle Fibers Used?
Slow twitch fibers are higher in endurance athletes. In fact, a 2021 study showed that endurance athletes had more slow-twitch fibers. For example, you’ll need these fibers to engage if you:
Lift with low resistance and high reps
Run marathons
Are a distance runner, swimmer, etc.
If you need to perform activities for long periods of time, you’ll want slow-twitch muscle fibers to engage because they use lower amounts of energy, evenly. You can’t fatigue during a marathon or you won’t make it to the end, and this is why you’ll have slow-twitch muscle fibers engaging.
In short, slow-twitch muscle fibers are ideal for endurance athletes.
Bringing it all together, your fast-twitch fibers will also recruit slow-twitch fibers. For example, if you’re doing high-intensity endurance training, both of these fibers will engage to increase your aerobic power.
Exercises for Fast Twitch Muscle Fibers vs Slow Twitch
You can increase either of these fiber types when training. For example, if you want to create more fast-twitch fibers, you’ll need to:
Lift heavy
Focus on power movements
Additionally, studies have shown that when training for a marathon, participants were able to increase their slow-twitch muscle fibers. Tapering was used in the study, which means that the participants reduced volume and intensity throughout training, which led to higher slow-twitch performance while also improving strength and power.
Training Type 1 and 2 Fibers at Once
You can train both muscle fibers at once. Remember, your fast-twitch fibers will often engage your slow-twitch muscle fibers, too. One way to train both of these at once is through following a fluid training routine where you:
Engage in strength training
Mix in endurance training
Mix in power training
If you focus on just one form of training, you won’t reach your potential across the board. With that said, you wouldn’t expect someone that is a powerlifter to put a heavy focus on endurance training, because they’re trying to move as much weight as possible.
General resistance training will engage type 1 and 2 fibers, but you’ll want to do more than 1 – 3 reps to get in the slow-twitch fibers.
Training Type Fast-twitch Fibers Specifically
How do you know when your fast-twitch muscle fibers are engaged? Typically, they engage when you can only perform an activity for a short period of time before becoming tired. A few examples include:
Lifting heavy weight
Boxing
Sprinting
MMA
Training Type Slow-twitch Fibers Specifically
Alternatively, you can train your slow-twitch muscle fibers intentionally, too. You will engage these fibers for:
Biking
Marathon running
Rowing
Walking
Even yoga is a great way to engage these slow-twitch fibers.
Note: We are preparing articles on how to train fast-twitch muscle fibers and how to train slow-twitch muscle fibers, if you want to maximize your athletic potential.
Fast twitch muscle fibers vs slow twitch seem complex, but they’re all about energy. If you want to train for endurance, you’ll need to work on those slow-twitch muscle fibers. However, if you want to become a powerlifter, you’ll naturally work your fast-twitch fibers because you need a large, quick burst of energy.