Wildflowers attract beneficial insects and add beautiful color to your garden, but some varieties can be tricky to grow. If you’ve had trouble growing wildflowers in the past, you may want to look for varieties that are a little bit easier to grow and maintain. We’ve rounded up some of the easiest wildflowers to grow to make your flower garden a success this year.
Disclosure: Some of the products we recommend include affiliate links. As an Amazon Associate, I earn from qualifying purchases. We may earn a commission if you buy something through any affiliate link on our site.
10 Easiest Wildflowers to Grow
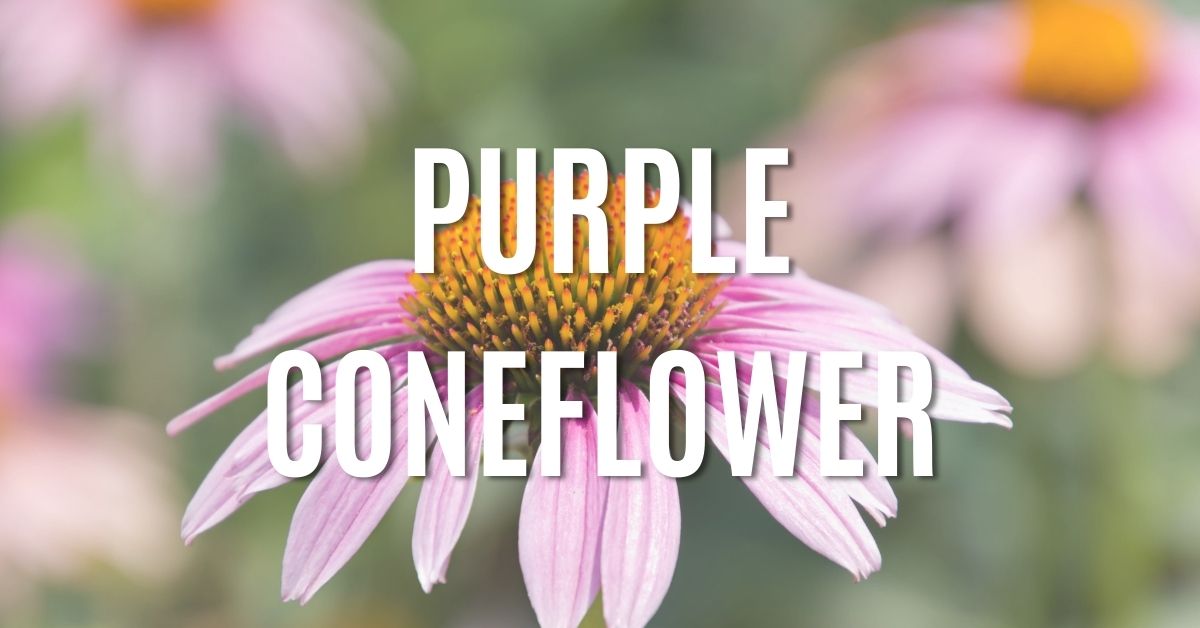
1. Purple Coneflowers
Purple coneflowers, also known as Echinacea, are native wildflowers that add so much color to meadows and flower beds across the country. They’re one of the easiest wildflowers to grow and spread naturally yearly.
These flowers do well in dry soil and don’t need much to thrive. And if you leave the dried seed heads in place, they’ll feed local birds all winter long.
Purple coneflowers make beautiful cut flowers, and some of the plant parts can even be used for medicinal purposes.
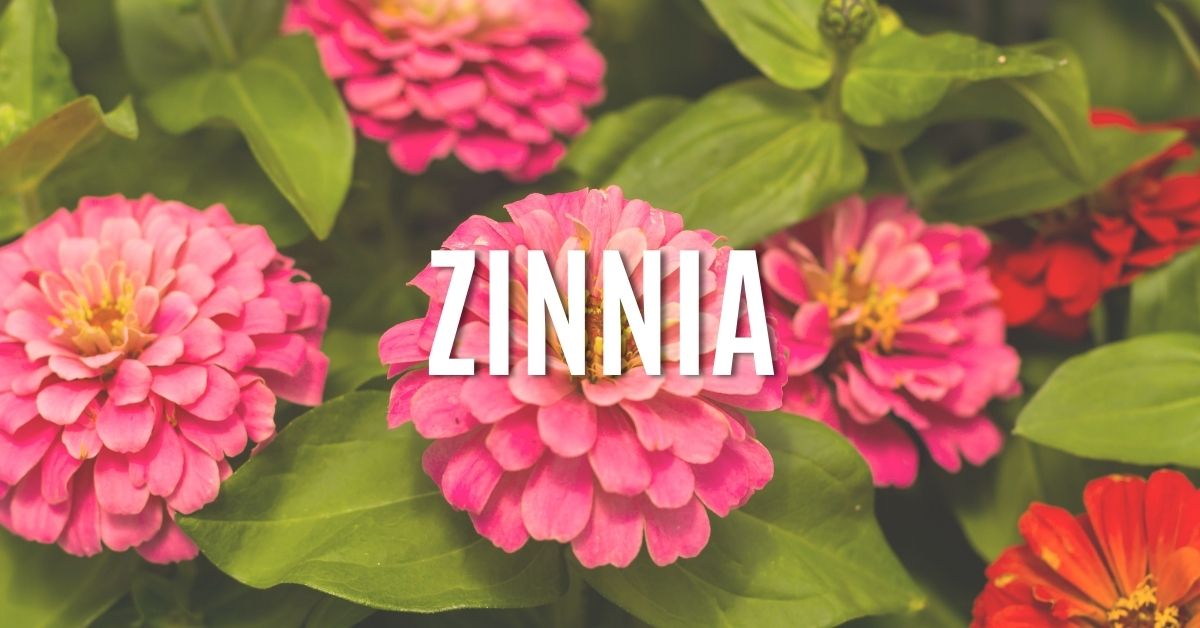
Zinnia’s gorgeous pink, red and orange flowers will brighten up your wildflower garden, and they’re so easy to grow that you’ll be planting them every year. They’re great for cutting, too.
While these flowers grow best in full sun, they can still tolerate part shade. Just be mindful that they may be more susceptible to disease if grown in part shade.
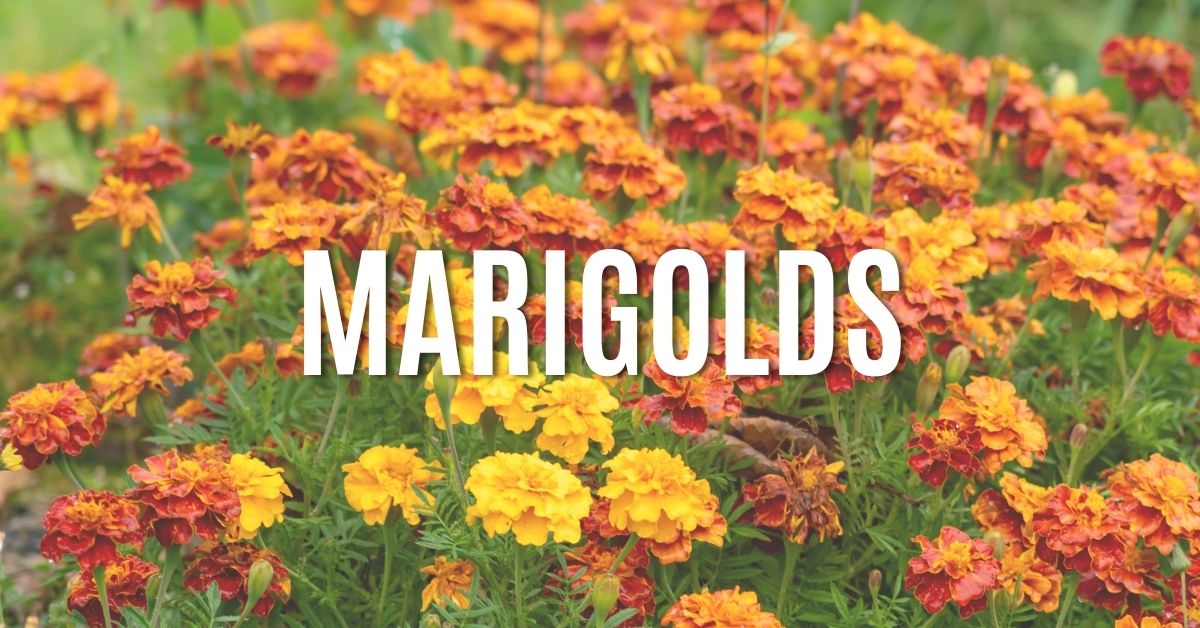
Marigolds are gorgeous flowers to grow in a summer garden, and they can tolerate summer heat well. These flowers do best in full sun and in well-draining soil. Otherwise, they are more prone to powdery mildew if the soil is too moist.
Fortunately, Marigolds have few pests, and they are excellent companion plants in the vegetable garden. In fact, they’re known to repel pests and can help you enjoy a bounty of fresh produce.
The Calendula variety of Marigolds has edible blooms that can add color and a little spice to your dishes.
Ox-eye daisies are cheery perennials that can bring life and beauty to any garden. Their mounding habit makes them a great option for filling in spaces in your garden bed.
Ox-eye daisies are also great for cutting and adding to bouquets.
These daisies love full sun, but they can also grow in part afternoon shade, particularly if planted in humid climates. Let the soil dry out in between waterings to keep your flowers healthy.
This variation of the daisy spreads via rhizomes and self-seeds, so they can easily fill a garden.
Beloved for their bright blooms, sunflowers are easy-to-grow wildflowers that will add cheer and beauty to your garden. They’ll also attract beneficial insects, hummingbirds, butterflies and other birds.
Because these beauties grow tall, be sure to plant them in the back of your bed along a wall or fence. Otherwise, they may block out the sun for other plants in your garden.
Morning glories come in a variety of colors – blue, pink, white and purple flowers. They’re climbing vines, which makes them an interesting addition to any wildflower flower bed. Let them climb up trellises, arches or pergolas to add color and beauty to different areas of your backyard.
Best of all, these flowers are low maintenance. However, they aren’t very tolerant of droughts, so be sure to water more often during dry periods. Mulch can help retain moisture and prevent weeds.
These plants will reseed themselves unless you pinch off the flowers.
With cosmos, you can add purple, orange, white and pink flowers to your garden. And you can add all of this beautiful color with minimal maintenance.
Cosmos can also attract butterflies, birds and other beneficial visitors.
These flowers can tolerate dry, warm weather and can even be drought-tolerant. Be mindful that these beauties can grow to be quite tall, so they may need staking. These flowers self-seed, too, so remove the flowers before they go to seed if you want to control their growth.
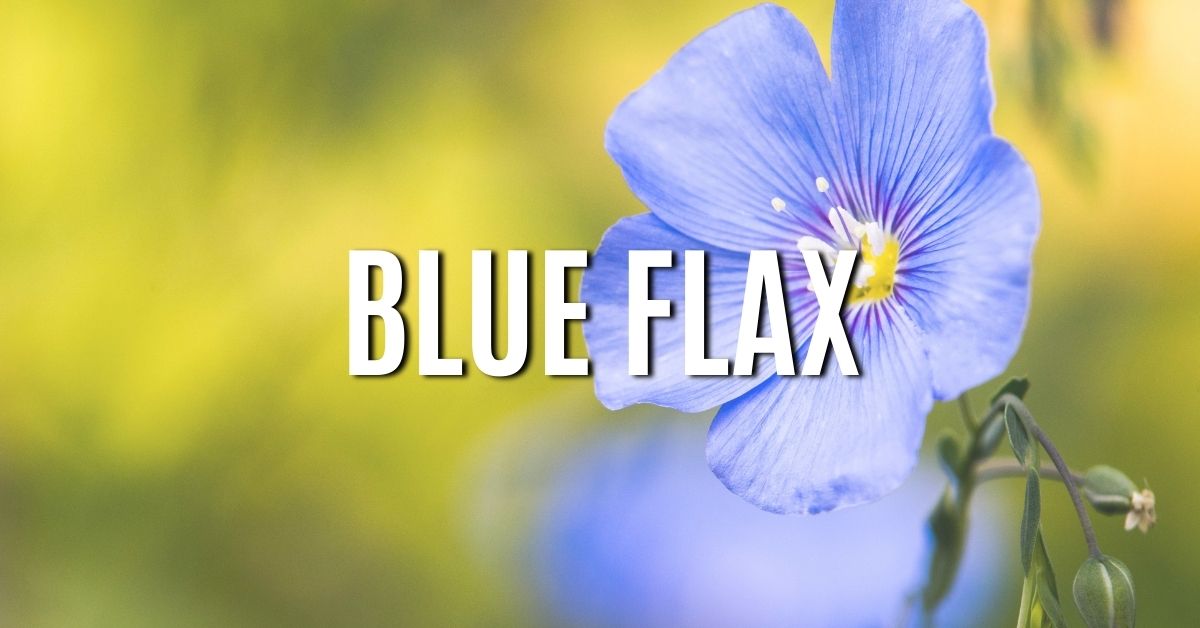
Blue flax will add a beautiful periwinkle color to your garden. These easy-going flowers are native to Europe, particularly England and the Alps, but they’ve spread throughout North America.
Blue flax is great for rock gardens, and they’re even deer and rabbit resistant. They’re bee-friendly and can grow to be 18-30″ tall.
While these flowers love full sun, they can tolerate some shade.
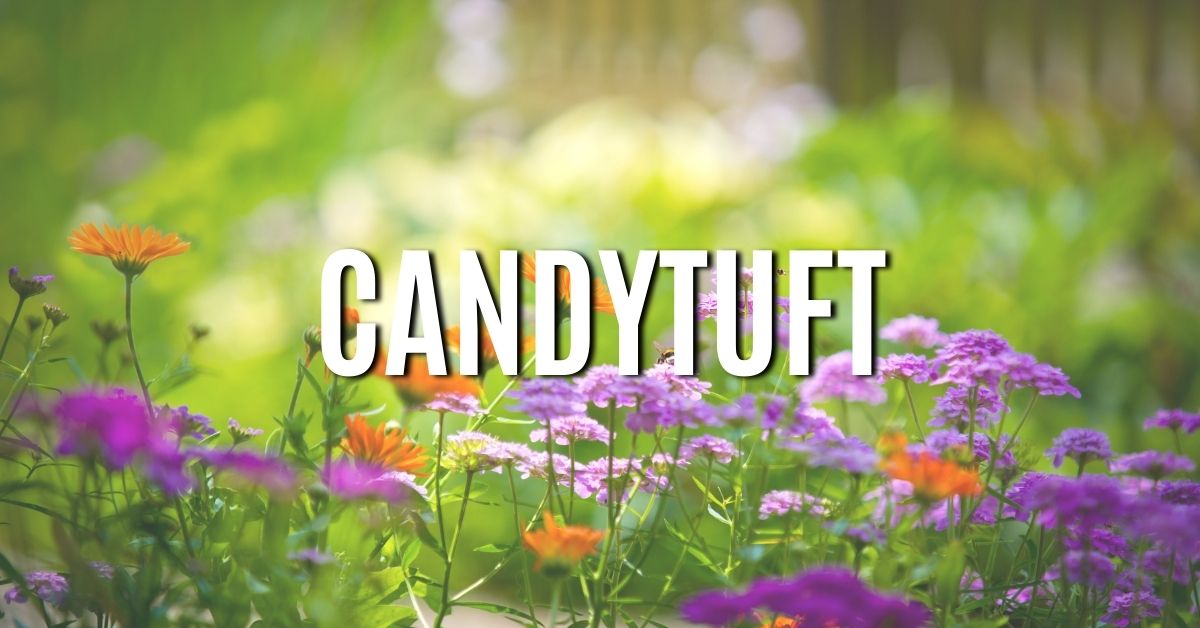
Candytuft flowers are native to Europe and are a low-maintenance, easy-growing option for any wildflower garden.
They prefer well-draining soil and plenty of sunlight for full blooms. Cut them back after they bloom to encourage new growth and promote a compact habit. These flowers grow along the ground, so you can divide them up and transplant them in your garden to add pops of color here and there.
Candytuft is a perennial, and its flowers come in white, pink and purple varieties.
These are some of the easiest wildflowers to grow. They’ll add beautiful color to your garden, and many are self-seeding, so you can enjoy them year after year.
Are you planning a wildflower garden? Knowing the types of wildflowers available and where they thrive can help you know what to plant and when. We’re going to share 13 beautiful wildflowers that are easy to care for and grow in a variety of soil conditions.
Disclosure: Some of the products we recommend include affiliate links. As an Amazon Associate, I earn from qualifying purchases. We may earn a commission if you buy something through any affiliate link on our site.
13 Types of Wildflowers to Grow in Your Backyard
Hundreds of wildflowers are native to the United States and will look beautiful in any backyard garden. Just how many types of wildflowers are there in the U.S.? About 150 native species, 134 of which are in California alone.
But even if you don’t live on the West Coast, you can grow gorgeous wildflowers that will add color to your yard and attract beneficial pollinators like butterflies and honeybees.
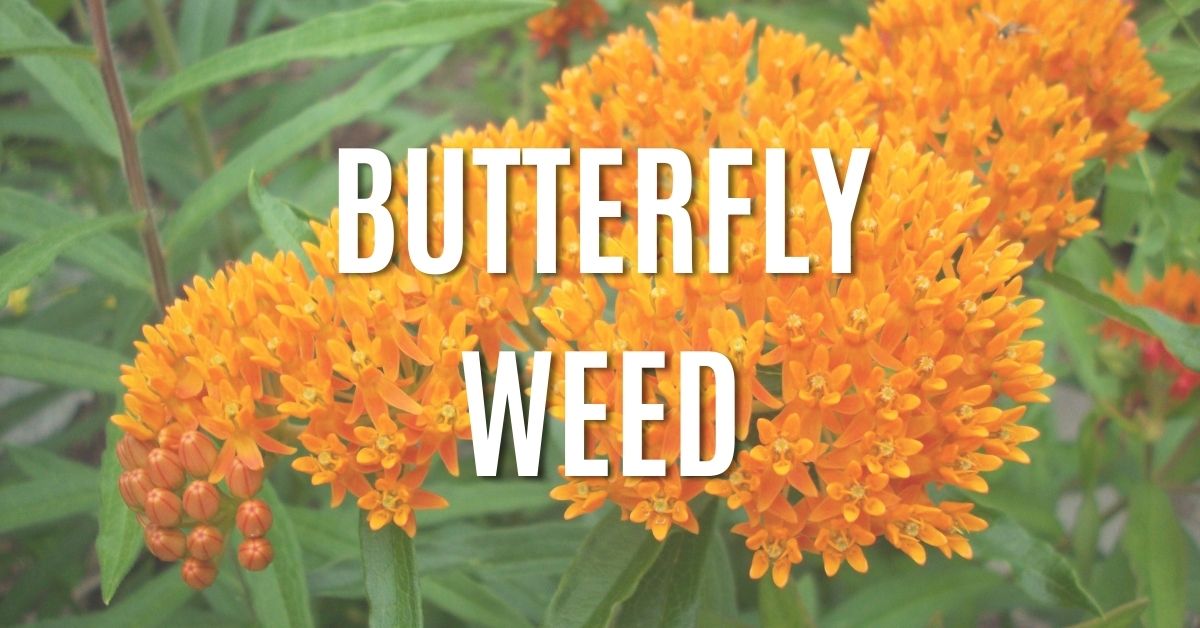
Wildflowers can do more than just make your garden beautiful – they can help the Monarchs, too. According to a new report, the western population of Monarchs has declined by a staggering 99.9% since the 1980s.
You can do your part to help these endangered beauties by planting butterfly weed, or Asclepias tuberosa. Butterfly weed is a type of milkweed with bright orange flowers and a mounded profile.
Butterfly weed looks gorgeous in any wildflower garden and it helps Monarchs. It’s a win-win for everyone.
Indian blanket, or Gaillardia pulchella, is a showy wildflower that will add beautiful bursts of orange and yellow color to your wildflower garden. These flowers thrive in the southern and central U.S. in rocky plains and prairies.
Besides adding beauty to your backyard, Indian blanket will help feed the local wildlife. Birds love the seedheads and butterflies and bees love their nectar-rich flowers.
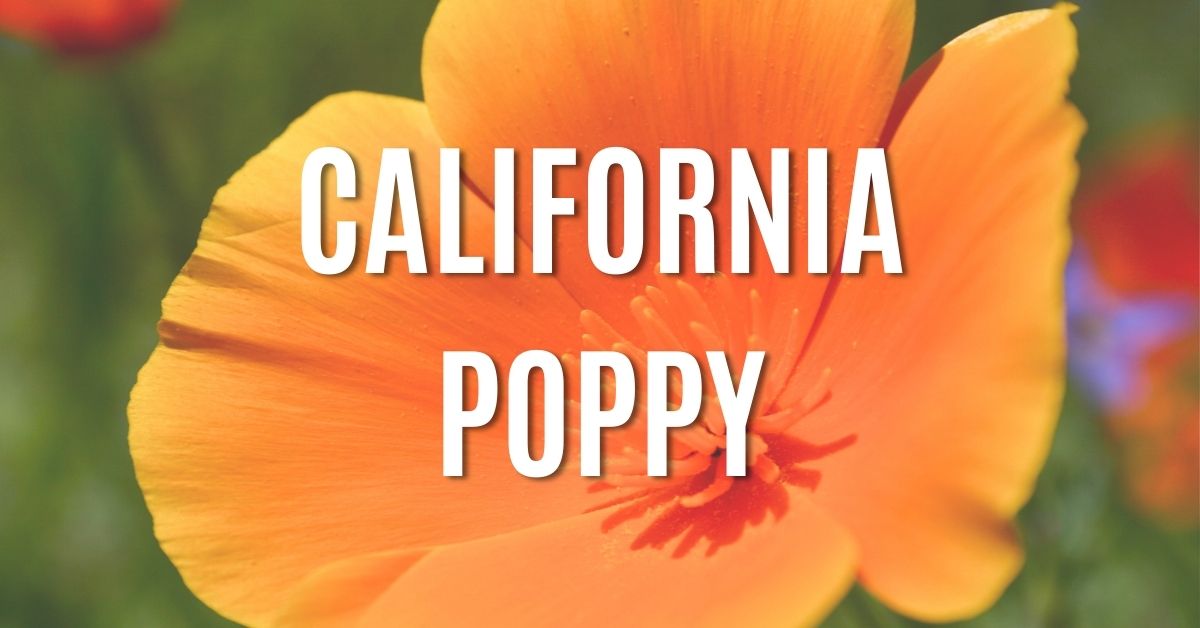
California poppy (Eschscholzia californica) is one of the types of wildflowers you should plant if you want vibrant colors in your garden. Their bright orange blooms are striking, and they’re one of the first flowers to open up in spring. Sometimes, they bloom as early as February.
While the California Poppy is the state flower of California, it can grow in various locations along the Pacific coast.
Purple coneflowers, or Echinacea purpurea, bloom all throughout the summer and bring bright, cheery colors to your wildflower garden.
Purple coneflowers actually bloom twice – once again in the fall. They’re a great way to keep your garden looking colorful when all of your other flowers have stopped blooming.
The great thing about purple coneflowers is that they can thrive even in droughty conditions and in a variety of temperatures. Purple coneflowers are also considered a medicinal plant and have long been used in folk medicine for the treatment of colds, coughs and fevers.
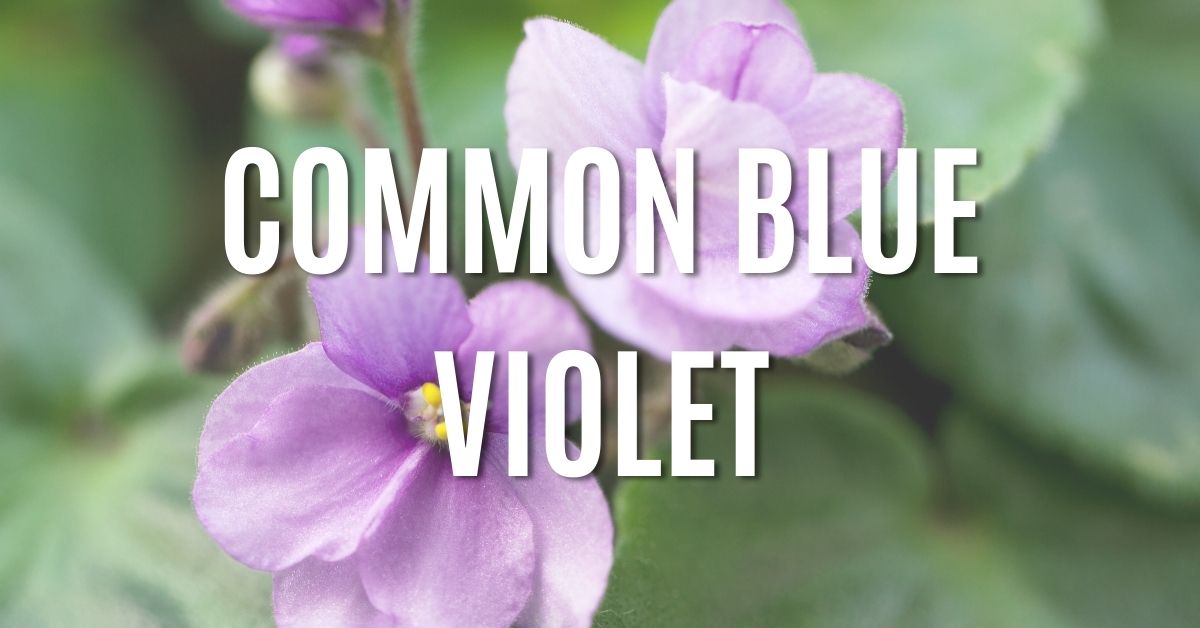
The common blue violet truly is common along the East Coast of the U.S. Their purple flowers make them a gorgeous addition to any wildflower garden, and they’re surprisingly easy to grow. Common blue violets are hardy plants and prolific (they’re sometimes considered weeds!), so you won’t have a hard time getting them to spread throughout your garden.
Use them as a maintenance-free ground cover that will add beautiful color to your outdoor space.
Plus, you can add their colorful blooms to salads to really impress your guests. These flowers are commonly used in cuisine and can really take your presentation over the top.
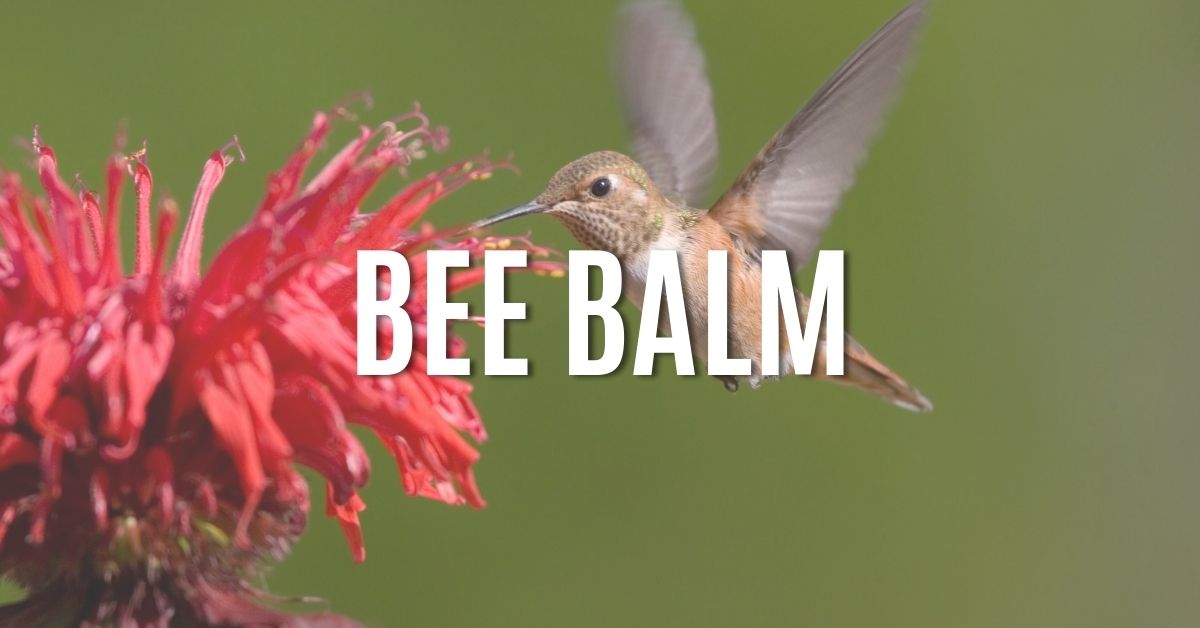
Bee balm (Monarda), also referred to as wild bergamot, is one of the most popular types of wildflowers because they attract a variety of pollinators and have colorful blooms that brighten up any garden bed.
Bees aren’t the only beneficial insects that are attracted to these flowers. They also attract butterflies and even hummingbirds – and they’re even deer-resistant.
There are several varieties of bee balm, each offering a different color. From dark purple to bright pink and even white, you can find many types of bee balm that will complement your flower bed.
Black Eyed Susans are such cheerful flowers. With their bright yellow petals, they look like mini sunflowers. They’re easily one of the most popular yellow wildflowers in the eastern U.S., and they can add vibrant color to your garden in late summer.
Black Eyed Susans will attract a variety of pollinators and other beneficial insects. Expect to get frequent visits from bees of all types, small butterflies and even Scolid Wasps, which are actually beneficial pollinators.
The oxeye daisy is a gorgeous wildflower with long, sturdy stems and cheery blooms. They start blooming mid-spring and last until the end of June, but if you prune your daisies after they fade, you can encourage a slightly longer bloom time.
In Zones 3-8, these daisies are considered a perennial. These flowers are prolific, too, spreading quickly throughout a garden bed thanks to their rhizome roots.
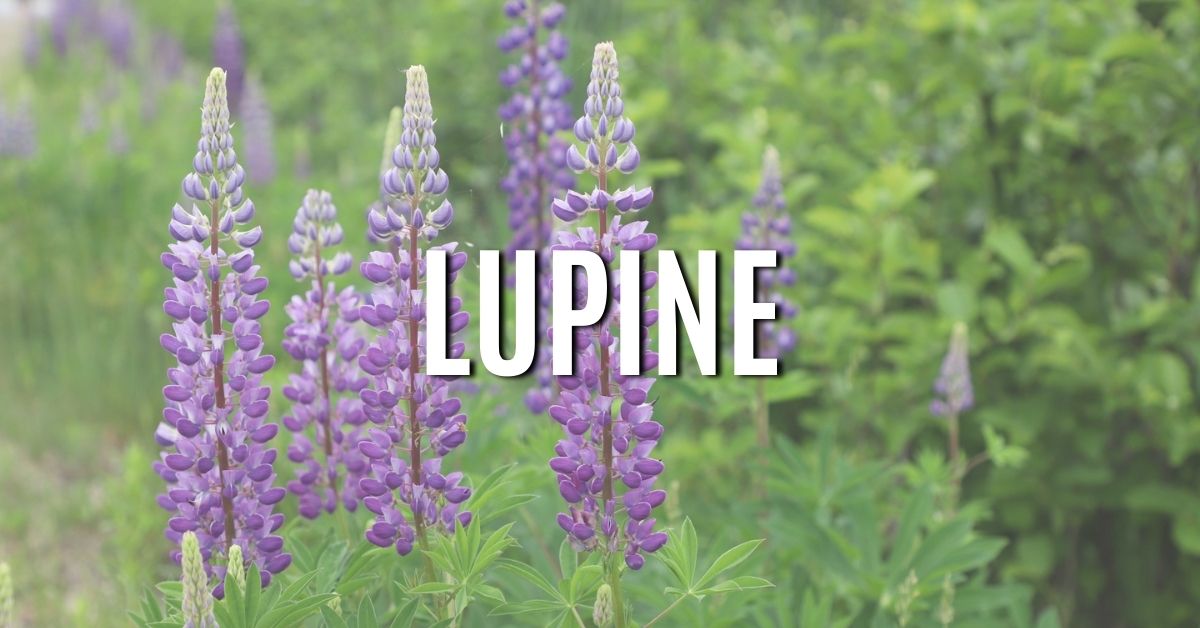
With its tower-like stalks, lupine is easy to identify. This wildflower has small clusters of flowers with beautiful, delicate colors
Lupine doesn’t mind poor-quality soil, and this resilient plant can thrive even in the Arctic. It’s commonly found in the sand dunes along the East Coast.
There are many varieties of lupine, each of which has vibrant colors and blooms in late spring.
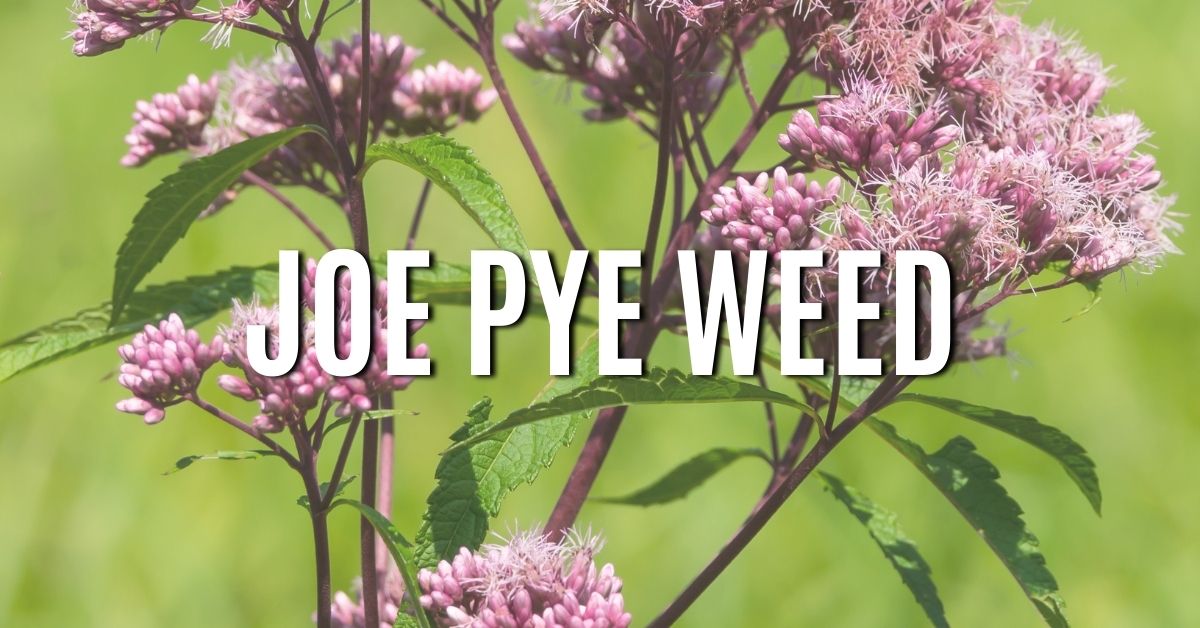
There are many varieties of Joe Pye weed, or Eutrochium. Eutrochium purpureum, in particular, is known for its fragrant flowers and is native to central and eastern North America.
Its intoxicating vanilla scent attracts butterflies, bees and other pollinators. In fact, these flowers are a favorite of Monarch butterflies and a variety of bees, including bumble, honey, leafcutter and cuckoo bees.
Joe Pye weed is late-blooming and grows in clumps up to 7 feet tall. Its beautiful blooms range in color from purplish pink to mauve pink.
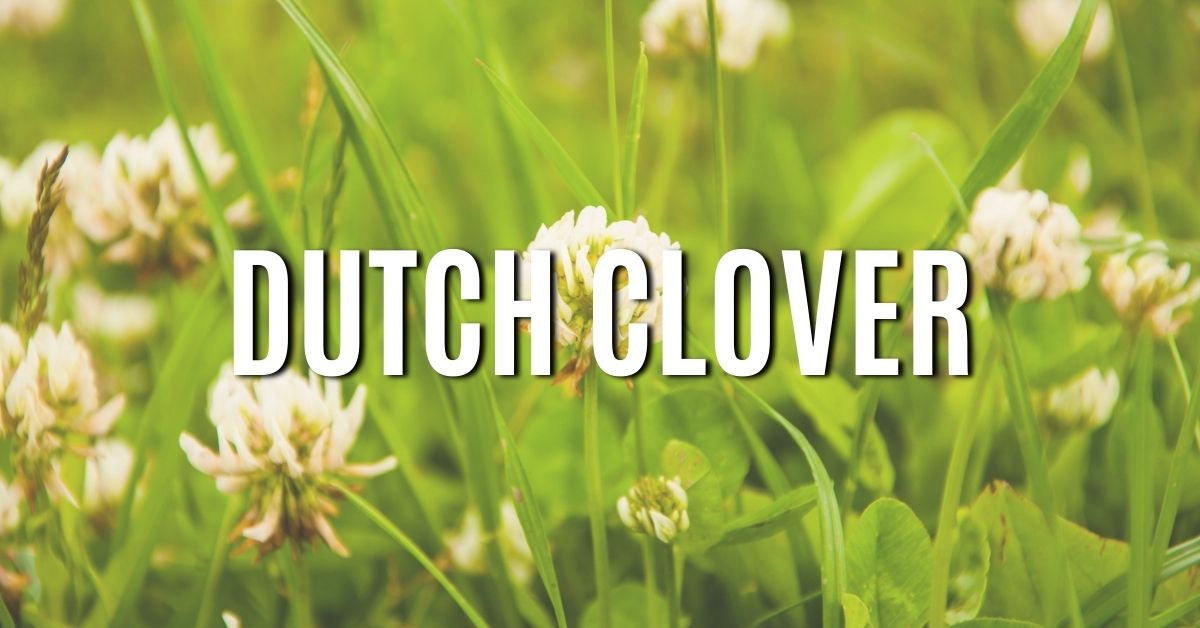
Most people are familiar with Dutch clover, a common perennial ground cover that grows in lawns throughout the U.S. Along with adding some color to your lawn, Dutch clover can help with erosion control. It spreads relatively easily and is a hardy wildflower.
If you want to feed the bees, Dutch clover provides lots of pollen and nectar.
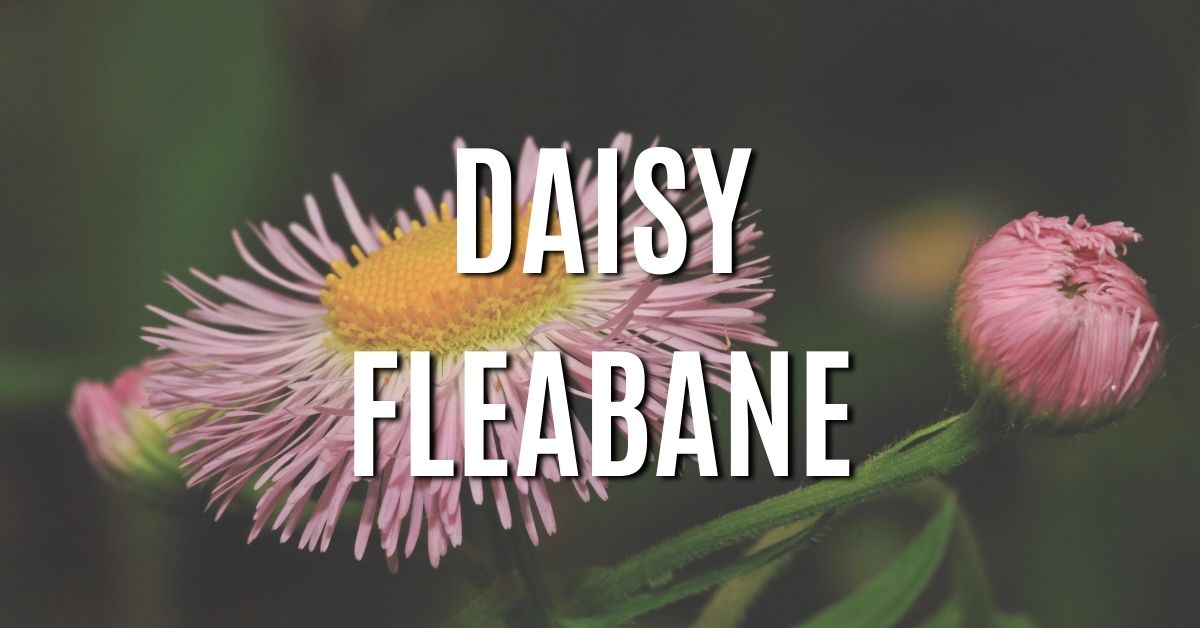
Daisy fleabane is part of the Aster family, and it has the classic daisy flower look. They can be either annual or biennial and stand 1-3′ tall.
Daisy fleabane can be a beautiful addition to any garden bed. They come in a variety of colors, from white to yellow, pink, orange, blue and purple. They have a long flowering season, too, so you can enjoy their blooms all summer. And they’re excellent as cut flowers when fully opened.
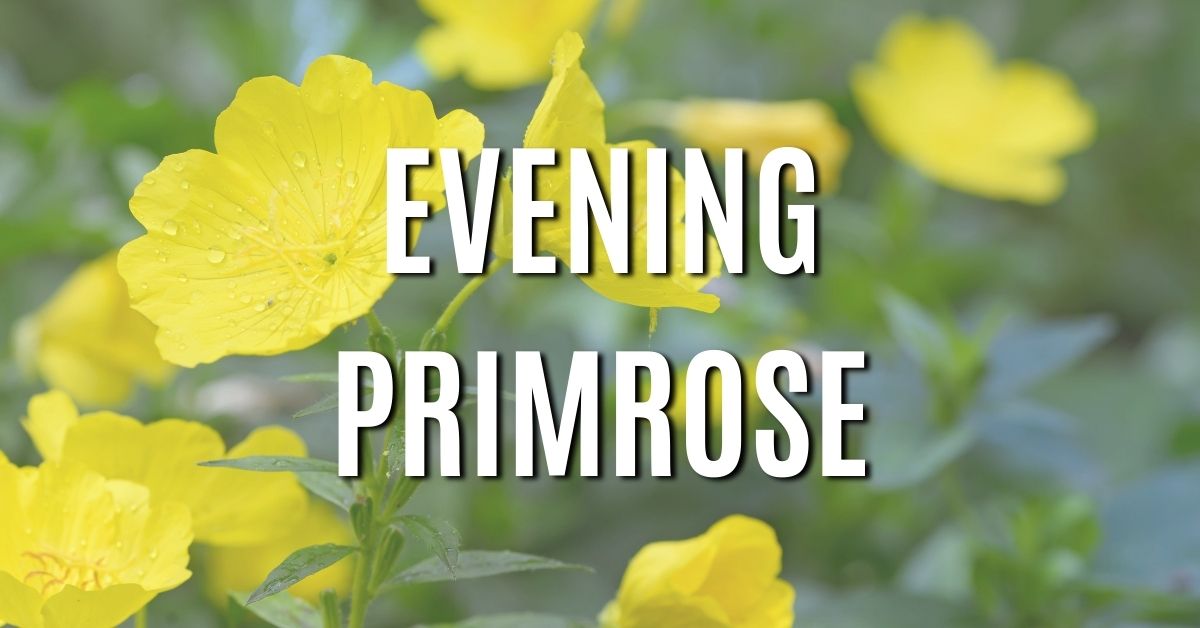
Evening primrose has cup-like, fragrant flowers that bloom in bright colors. They’re easy to care for, and they’re hardy plants that can tolerate a variety of soil conditions.
Hummingbirds and butterflies are frequent visitors of these flowers, and they’re resistant to deer and rabbits.
Just be sure to plant these beauties in a place that receives full sunlight. These plants are fussy about their soil conditions and will easily spread.
These 13 types of wildflowers will brighten up your garden and help attract pollinators and beneficial insects. Just make sure that you choose wildflowers that will grow well in your Zone and soil conditions.
You may have an excellent location for storage, but what about your seed storage box? What you store your seeds in is just as important as the environment itself.
We’re going to share some seed storage box and seed organization and ideas to make your seed-saving adventure a success.
7 Seed Storage Box Ideas
Disclosure: Some of the products we recommend include affiliate links. As an Amazon Associate, I earn from qualifying purchases. We may earn a commission if you buy something through any affiliate link on our site.
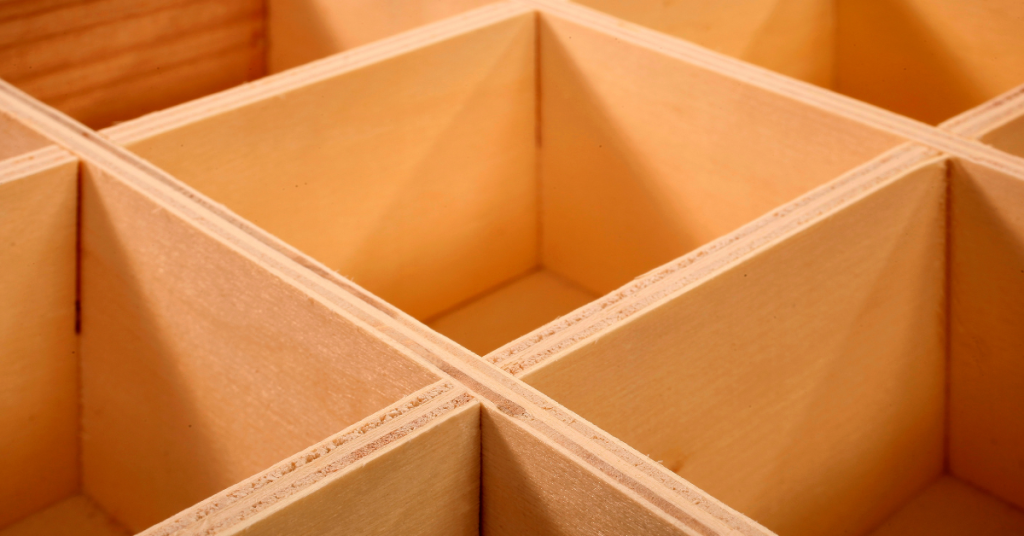
1. Bead Storage Boxes
A bead storage box can easily become a seed storage box. The compartments are just the right size to store your seeds. Just make sure that you’re either:
Buying a dark-colored box
Storing a clear box in a dark place (closet, basement, etc.)
Essentially, these are just photo album pages. In fact, you can probably use an old photo album to hold your seed packets.
No matter whether you upcycle an old album or buy a new one, make sure that you’re careful not to crush your seeds when they’re stored away.
3. Metal Seed Storage Box
Metal boxes are also great for storing seed packets because they’re durable and easy to carry around. You can repurpose an old metal box you have at home, or you can buy one designed for seed storage.
Look for boxes that have compartments for easy organization.
If you’re saving your own seeds, you may want a box that also comes with seed envelopes, like this cute box from Amazon:
But really, any metal box will work for this purpose. Just make sure it’s big enough for your seed collections.
If you have seeds from different varieties of plants, you can use file tabs to keep your packets organized. And when planting season comes, you’ll be able to find what you need quickly.
For many people, mason jars are their go-to seed storage box. Why?
Many gardeners already have them on-hand
They’re made of glass, so there’s less concern about pests
They’re easy to stack and store
The biggest concern with mason jars is that most are clear, so you’ll still need to tuck them away in a dark place. However, you can now find amber-colored mason jars that come in a smaller size for easy seed storage.
Photo storage boxes can also be repurposed as seed storage boxes. They’re a great way to not only keep your seeds safe, but keep them organized, too.
Photo storage boxes can usually hold 50-100 photos, so you should be able to fit at 5-10 seed packets inside. So, if you have different varieties of tomato seeds, for example, you can keep all of your packets in one photo storage box. It’s a great way to keep your seeds separated and easily accessible.
You can buy packs of individual photo boxes, or you can buy an all-in-one storage solution like this one:
If you’re looking for a creative way to store your seeds, apothecary vials are a great idea. They’re just the right size for storing seeds, and the cork creates an airtight environment.
Just make sure that you have a box or dark place to store your vials and keep them organized.
Have you ever seen a seed library? We love them just because they’re great for the local community, but they can also give you a great idea for storing your seeds. Most are kept in card catalogs that make it easy to find what you need and keep seeds organized.
You can recreate this seed storage idea at home, and it’s a great option if you have a big seed collection.
If you have an old dresser, you may be able to transform it into a card catalog.
We’ve shared some great storage box ideas, but what about seed organization? Keeping your seeds organized inside of your box will make it easy to find what you need when it’s time to plant or start your seeds.
Here are some great ideas for keeping your seeds organized inside of your seed storage box.
File Tabs: File tabs are a great way to categorize your seeds and keep different varieties in one easily accessible place.
Cardboard Dividers: You can upcycle old cardboard to divide your seeds into categories. Label each divider to make it easy to find the seeds you need.
Rubber Bands: If you’re looking for a simple way to keep similar seeds together, rubber bands are a great solution. If you already have rubber bands lying around, this is an idea that won’t cost you a dime.
These seed storage box and seed organization ideas will help you keep your seeds safe and protected until you’re ready to plant them. Just make sure that you’re keeping them in a cool, dark and dry place regardless of what container you’re using for storage.
If you have a backyard garden, there’s a good chance that you have at least one type of squash growing either in the summer or fall. In fact, there are more than 100 types of squash. Along with butternut, acorn, zucchini and the beloved pumpkin, you have Hubbard, kabocha, spaghetti squash, sweet dumpling and dozens of other squash varieties.
Each variety produces seeds that you can save, dry and store for next year’s planting. Let’s look at how to prepare your seeds for storage and answer some questions about squash seeds.
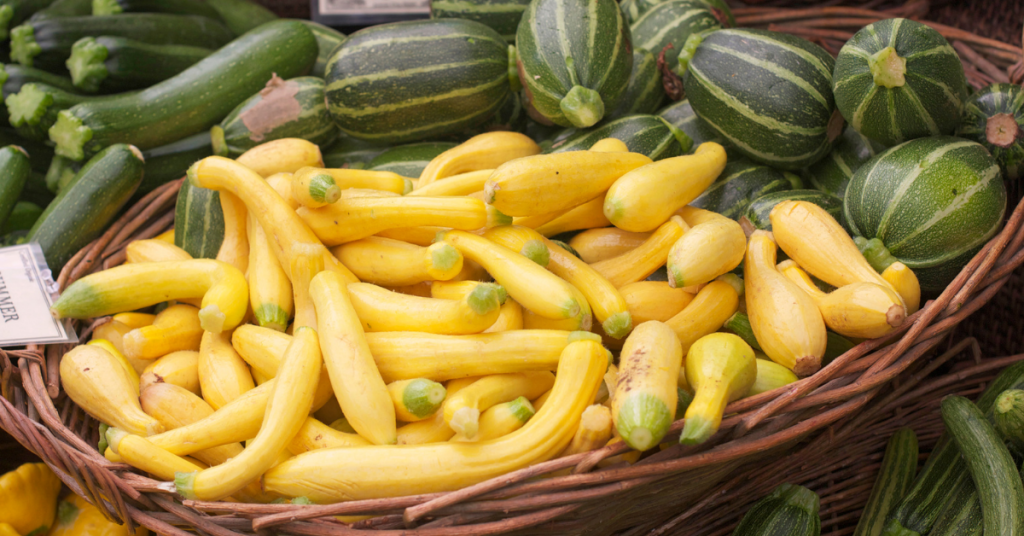
Do Zucchinis Have Seeds?
Yes! Zucchinis do have seeds. This popular summer squash is easy to grow, but you’ll need to sacrifice a few crops to save the seeds.
When you harvest zucchini to eat, you’ll notice that they have small seeds at the center. The seeds are easier to see if you cut your zucchini into slices instead of quarters or half-moons. Unfortunately, these seeds are immature and not ready for drying or saving. Seeds are best harvested from zucchini that are left to grow to full maturity.
Other varieties of summer squash have similar seeds, including yellow zucchini, crookneck squash, ball squash and pattypan.
In fact, all varieties of squash have seeds. With careful prep and the right timing, you can harvest seeds from any of the squash varieties you grow in your garden.
While you can save and dry seeds from the squash you buy at the store or farmer’s market, they may not breed true. The varieties you buy in the store are likely hybrids and may not produce exactly the same fruit. Sometimes, it’s fun to experiment, so there’s no harm in going this route as long as you know what to expect.
How To Save Seeds from Squash
No matter your variety, it’s important to know how to harvest and save squash seeds to prepare them for drying. The process you use will generally depend on whether it’s a summer or winter squash.
Saving Seeds from Summer Squash
Summer squash includes:
Green zucchini
Cousa squash
Chayote squash
Yellow zucchini
Luffa squash
Pattypan
Round zucchini
Crookneck squash
Zephyr squash
Yellow straightneck
Romanesco squash
To save seeds from summer squash, you’ll first need to let the fruit mature beyond its edible stage. At this point, your fruit should be huge with tough skin.
Slice open the squash. You may need a sharper knife to pierce the tough skin.
Scoop out the seeds and pulp. Compost the rest of the fruit.
Place the seeds and pulp in a clean container, and fill it with just enough water to create a wet mass.
Allow the seeds to sit in a cool, dark place for 1-2 days.
At this point, the seeds and flesh should have a funky smell, and the seeds should easily separate from the pulp.
All of the viable seeds will have sunk to the bottom of the container, while the pulp and unviable seeds will be floating.
To remove the viable seeds, dilute the mixture by adding more clean water.
Pour off the liquid, floating seeds and pulp.
Remove the seeds that are at the bottom of the container, and place them in a clean sieve or fine screen.
Spray the seeds down to clean them off one last time.
Now, they’re ready for drying.
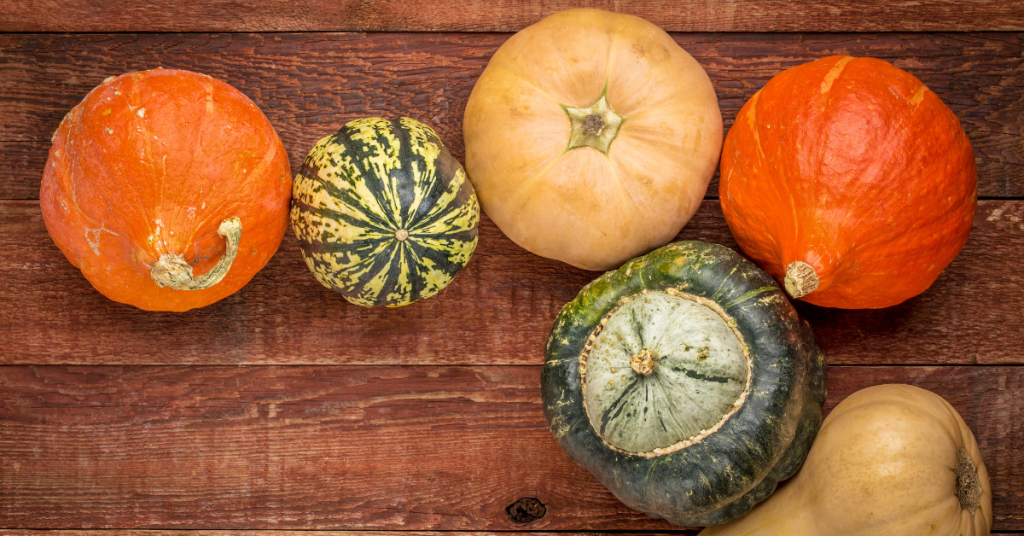
Saving Seeds from Winter Squash
Types of winter squash include:
Butternut
Acorn
Pumpkin
Hubbard
Kabocha
Banana squash
Buttercup
Carnival
Delicata
Spaghetti
Sweet dumpling
Turban
Candy roaster
Winter squash tend to have larger seeds than their summer counterparts, which are much easier to harvest and dry for storing. Their seeds are also great for snacking, so you can save some for roasting if you have more than enough for planting.
To save seeds from winter squash:
Split the squash in half.
Scoop out the seeds and pulp.
Place the seed/pulp mix in a colander or sieve.
Use the sprayer on your faucet to help separate the seeds from the pulp, or use your fingers to separate them.
Once separated, give the seeds one last rinse in the colander or sieve.
Now, they’re ready for drying.
How To Dry Squash Seeds for Planting
Now that you’ve harvested and cleaned your seeds, it’s time to dry them and get them ready for storage.
The drying process is the same for both summer and winter squash varieties.
After cleaning, lay the seeds out on wax paper or a paper plate to dry out overnight.
The next day, carefully transfer the seeds to trays lined with paper towels and allow them to dry out for another 2-3 weeks.
Make sure your seeds are spread out in a single layer to promote good airflow.
Check on the seeds regularly and turn them to ensure all parts of the seeds have a chance to dry out.
Keep your seeds in a cool, dry and dark space while they’re drying.
Once fully dry, you can store your seeds in a safe place until they’re ready for planting next growing season.
Not sure how to store your seeds? Check out our detailed guide!
Sunflowers add cheer and beauty to your garden, and even when they reach the end of their lifespan, they still give back by producing tons of edible seeds.
A single sunflower can produce a bounty of seeds – 1,000-2,000.
You can roast these seeds for snacking or plant them next year to keep your garden cheery.
Where Do Sunflower Seeds Come From?
Did you know that sunflowers are actually made up of thousands of tiny flowers? Their heads are made up of tiny blooms, sometimes up to 2,000. Their petals are considered separate flowers.
Sunflower seeds come from the magnificent and unique flower heads of sunflowers.
As the growing season comes to an end, sunflowers reach the end of their lifespan. If you let them die back completely, their flower heads dry out and their seeds are ready for harvesting.
Harvesting and drying sunflower seeds is almost as easy as growing them. But you have to know when to harvest them for best results.
When To Harvest Sunflower Seeds
No matter what you want to use your sunflower seeds for – planting, eating or feeding the birds – it’s important to harvest at just the right time.
Typically, seeds are harvested anywhere from mid-September through October.
But how do you know when to harvest your plant seeds? Here are a few signs to look for:
The flower petals have dried out and fallen off. You should be able to see the sunflower seeds on flower heads.
The backs of the sunflower heads are yellow-brown, and the flower heads are drooping.
The seeds have hardened and turned black with stripes. If they are still a milky color, they are not ready for harvesting.
If you’re unsure whether your sunflower heads are ready for harvesting, pull a few seeds to see how far they’ve developed.
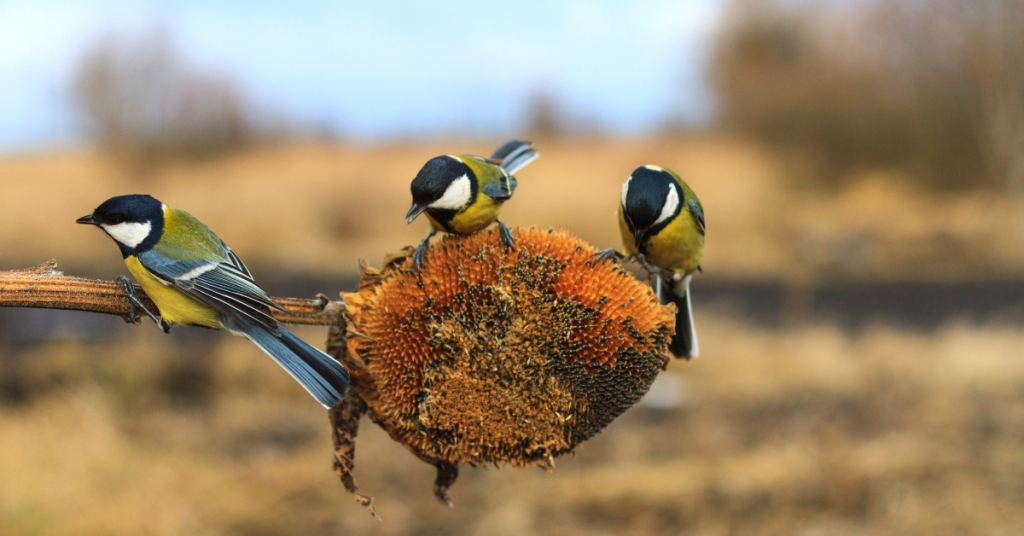
Sunflowers are vulnerable to pests and critters when they’re at the end of their lifespan, so while you’re waiting for your seeds to mature, consider covering the flower heads with brown paper bags, netting or even cheesecloth. Keep your protective covering in place with a rubber band or twist tie so that you don’t lose any seeds.
How To Harvest Sunflower Seeds
The best way to dry and harvest your sunflower seeds is outside on the sunflower head. Once your flower heads have dried out completely:
Cut the stem just below the flower head
If you haven’t already done so, place the flower heads in paper bags.
Hang your flower heads up to dry for a week.
How To Dry Sunflower Seeds Indoors
If you’re worried about critters getting to your seeds before you do, you can harvest them a little earlier and allow them to mature in a dry spot.
Wait until the outer seeds have matured, and then cut the stalk about a foot below the seed head. Once cut, simply hang and dry the heads for a few weeks. Make sure you hang them in a place with good air circulation that’s protected from insects and rodents. You may want to keep the seed heads in a paper bag to catch loose seeds.
Harvesting the Seeds
Once your seeds have had a chance to dry thoroughly, it’s time for the fun part – removing them from the flower head.
To dislodge the seeds, you can:
Rub the seed heads together
Rub the seeds with your hands
Use a brush with stiff bristles
Make sure you’re doing this over a large bucket or basin to catch all the seeds. This step can get messy!
Once you’ve harvested all of your seeds, allow them to dry overnight on a paper towel. Spread them out in a single layer on a flat surface to allow for good airflow.
How To Store Sunflower Seeds for Planting
Now that your seeds have been dried and harvested, it’s time to store them away for planting. It’s important to keep your seeds dry, cool and away from sunlight while you wait for next spring.
Keep your seeds in airtight containers or a paper envelope inside of a plastic container.
The refrigerator or freezer can help keep your seeds cold until they’re ready for planting.
Using a silica gel pack can help wick away any remaining moisture from your seeds.
Many sunflower varieties produce seeds that remain viable for 1-2 growing seasons. If you continue to harvest and save seeds each year, you can continue planting sunflowers for years to come.
Imagine having your own pumpkin patch in your backyard – an endless supply of pumpkins for carving and eating every year. Learning how to dry pumpkin seeds for planting and planting your seeds at the right time can make this dream a reality.
Drying pumpkin seeds is easier than you think, but it still requires some planning and careful treatment of your seeds.
How To Dry Pumpkin Seeds for Planting
Because pumpkin seeds are larger than other seeds, they take a little longer to dry out. It’s important to keep a close eye on your seeds and check them regularly to prevent mold.
Before we get into the drying process, let’s talk about the varieties of pumpkins. You can absolutely plant seeds from the pumpkins you buy at the store, but the results probably won’t be the same. Why? Because these types of pumpkins are usually hybrids. They may produce mini pumpkins or pumpkins that aren’t as colorful and flavorful. That may not be a big deal for you, but it’s important to know what to expect.
If you know you have an heirloom pumpkin or an open-pollinated variety, then they should breed true.
How To Dry Pumpkin Seeds for Planting Without Them Getting Moldy
If you want to save your seeds for planting next year, it’s important to keep them in the right environment and give them time to dry.
Here’s how:
First, separate the seeds from the pumpkin pulp and rinse well.
Next, lay your seeds out in a single layer on a piece of wax paper to dry overnight. Pumpkin seeds can be sticky at first, so wax paper is ideal.
The next day, line a cookie sheet with paper towels. Lay your seeds out in a single layer on a dry paper towel to allow them to dry out even further.
Make sure that your seeds are spread out evenly so air can reach each one.
Place your seed tray in a cool, dry and dark place for about a month.
Every week or so, stir and turn your seeds to promote airflow and ensure all sides of the seeds have a chance to dry.
Paper towels are great for drying seeds because they help absorb any remaining moisture.
How Long Do Pumpkin Seeds Need to Dry for Next Year’s Planting?
While drying times can vary with seeds, pumpkin seeds generally take longer than most other seeds. Expect to dry them out for a month before storing them away for planting.
Dehydrating Pumpkin Seeds – A Good or Bad Idea?
It may be tempting to speed up the drying process by using an air dehydrator. However, dehydrators use heat, even if it’s just a little bit of heat, to remove moisture. That heat can make your seeds unviable.
Seeds need warmth, light and moisture to germinate. Dehydrators introduce a little bit of heat, which can leave you with disappointing results if you try to plant them.
So, if you want to plant your pumpkin seeds, skip the dehydrator rack.
Storing Your Seeds
Once you’re confident that your seeds are dry, it’s time to store them away for next year. Saving pumpkin seeds and storing them properly can ensure that you have an endless supply of pumpkins every year for carving and eating.
To store seeds from pumpkins, it’s important to keep them in a place that’s:
Cool
Dry
Dark
You want a cool spot, preferably a place where the temperature is consistently under 60°F. A dry basement or even the freezer will work well for seed storage.
When stored properly, pumpkin seeds can last for four to five years.
Aside from the environment, it’s important to keep your seeds in the right container. Some of the best seed storage containers include:
Airtight Storage Containers
An airtight container is perfect for storing seeds that you know are completely dry. If you want to use a container like this, consider placing a silica gel packet in with your seeds for a few days before sealing it up to remove any remaining moisture.
We don’t recommend leaving the silica packet in with your seeds while you store them because they can dry them out too much.
Paper Envelope
Many gardeners keep their seeds in paper envelopes or the packets the seeds came in. This is a simple, effective and inexpensive way to store your seeds.
Just make sure that you label and date your envelopes to keep your seeds organized.
Plastic Container
Plastic containers are another great option for seed storage. You can find containers of all sizes to meet your needs. They’re great for storing packets of seeds or envelopes of seeds you save yourself.
Glass or Mason Jars
Glass or mason jars are also great for seed storage. They offer excellent protection against pests and moisture as long as your seeds are fully dry when you store them.
When To Plant Pumpkins for Halloween
If you want to grow pumpkins from seeds for Halloween, you’ll need to plant them at just the right time.
For northern states, plant your seeds in late May.
For southern states, wait until late early June or July to plant your seeds.
If you plant your seeds too early, there’s a chance your pumpkins may rot before you have a chance to carve or eat them on Halloween.
Planting Your Halloween Pumpkin Seeds
Vining pumpkins need a lot of space to spread out, so make sure that you have the room for them. How much space do they need?
50-100 square feet per hill
To plant your seeds:
Place them 1 inch deep.
Aim to plant 4-5 seeds per hill.
Make sure you have 5-6 feet between hills and 10-15 feet between rows.
Once young plants are established, thin hills to two to three plants.
Bush varieties don’t need as much space. Aim to have one plant every three feet and 4-6 feet in between rows.
Vining varieties are the most common, so plan to clear out a big space in your yard for your pumpkin patch.
Final Thoughts
Learning how to dry and store your pumpkin seeds will allow you to grow your own pumpkins every year. It’s a fun activity for the whole family and a great way to teach kids about gardening and where their food comes from.