You’ve harvested seeds from your best plants. Now what? Drying seeds is one of the last steps in your seed-saving adventure, but it’s arguably the most important. If your seeds aren’t fully dried out, you’ll wind up with a moldy mess. To save you from this disappointment, we’re going to share some of the most effective ways to dry seeds.
If you haven’t already, check out our post on How to Save Seeds to find out how to save seeds from popular garden plants.
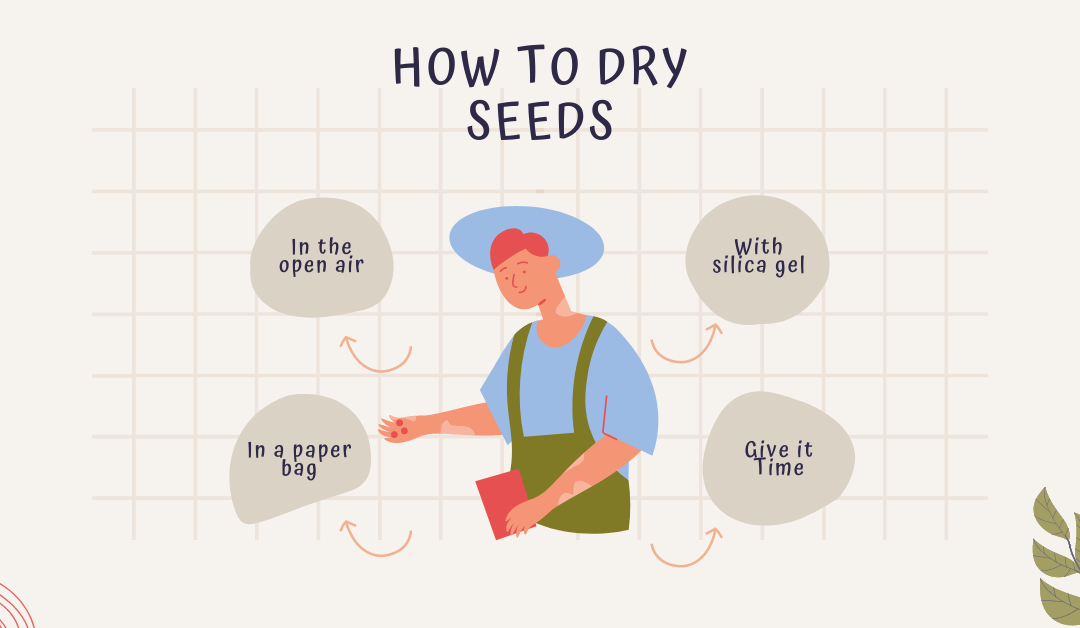
How to Dry Seeds for Planting
Humidity and excess moisture can cause your seeds to rot. A proper drying process will protect the seed coat to improve germination rates and prevent rotting. When dried and stored properly, you’re more likely to grow healthy plants.
Let’s look at a few of the most effective methods for drying seeds and the importance of choosing the right types of seed.
Choose Seeds from Open-Pollinated Varieties
When drying seeds for planting, make sure that you’re choosing open-pollinated varieties. These plants produce types of seeds that are true to type. In other words, it will produce a seed that is very similar to its parent plant.
Hybrid plants are created through careful and intentional cross-pollination of two parent varieties with desirable traits. While seeds from these plants can be saved, they won’t be true to type.
So, before you even get started on your drying venture, make sure you’re choosing the right seeds for the job. Now, on to the best practices for drying seeds.
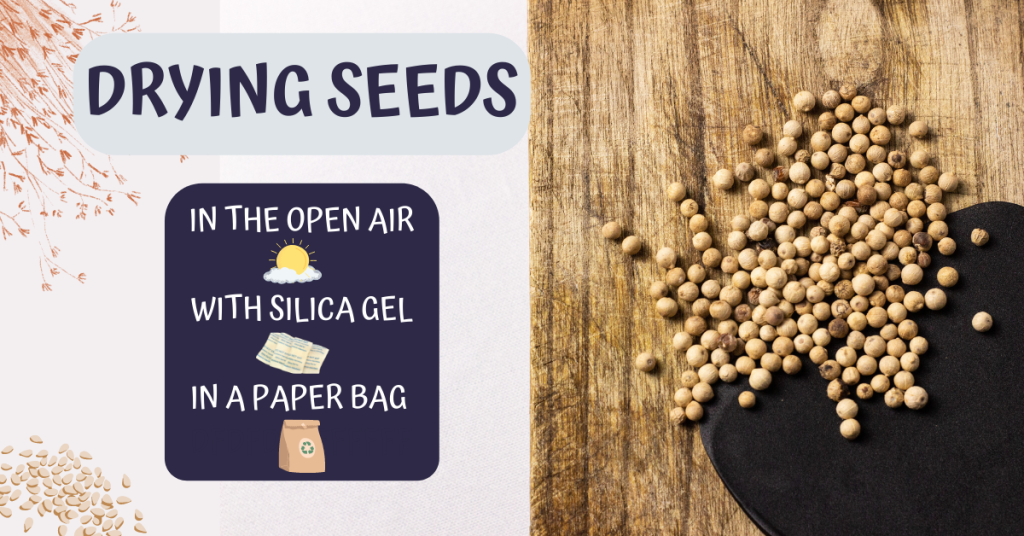
Dry Seeds in Open Air – But Give it Time!
The simplest way to dry seeds is out in the open air. Typically, seed savers will keep their seeds on a paper towel or clean plate (paper preferably).
When you dry out in the open air, moisture levels naturally decline over a few days. After you’ve harvested and prepped your seeds for drying:
- Lay your seeds out on a paper towel or coffee filter. If your seeds are wet (e.g., tomato seeds or pepper seeds), stick to paper plates or coffee filters. Otherwise, they’ll stick to the paper towel. Screens also work well for drying, as they allow airflow all around the seed.
- Make sure your seeds are spread out. You want proper airflow between your seeds. If you’re drying larger seeds (like pumpkin seeds), you may need a few plates or paper towels to spread out your seeds properly.
- Keep them in a cool, dry place.
- After a few days, move the seeds around to break up clumps of seed and uncover any seeds that have less air contact.
- Allow your seeds to dry out over 2-3 weeks fully.
After a few weeks, your seeds should be dry enough to be stored away for next year. You can store them in airtight containers or a seed packet.
If you’re drying wet seed, like those from tomatoes or peppers, it’s important to make sure they are dry within a few days. Otherwise, they may start sprouting.
Dry Seeds with Silica Gel
If you want to speed up the drying process or ensure that excess moisture is removed from your seeds before storage, silica gel is a great tool to use.
Seeds of Diversity recommends placing an envelope of your clean seeds and an envelope of silica gel in airtight containers for a few days. Doing this will help remove moisture from wet seed and excess moisture from the air, too.
You don’t want to leave the silica gel in with your seed packet for long-term storage. Silica gel can over-dry your seeds, so remove it after a few days. Keep your seeds stored in an airtight glass or plastic container until you’re ready to plant.
Dry Seeds in a Paper Bag
Another effective way to dry out your seeds is with a simple brown paper lunch bag. This drying process works best for drying seed capsules and seed pods.
We don’t recommend using the paper bag method for drying wet seeds. But it does work well for drying seeds from flowers and dry vegetable seeds, like spinach, carrots and lettuce.
Here’s how this method works:
- Place the flower stalk in the brown bag, head-first.
- Keep the open paper bag on a tray or table to dry out in a dry, cool room.
- Allow the seeds and stalk to dry out completely over two to three weeks.
- Once the stem has dried out and turned brown, you can use your fingers to separate the seeds.
- Remove and discard any chaff, petals other plant parts.
- Leave the collected seeds in the bottom of the bag to dry out for another two to three weeks. Shake the bag occasionally to stir up the seeds.
Give Your Seeds Time to Dry
One of the most difficult parts of drying out seeds is waiting. While we’re all anxious to store away our seeds for next year’s planting, it’s important to be patient and wait for them to dry out fully. Doing so will ensure that your seeds are fully dry and ready for planting next year.
Rene is a creative, little gnome. When she's not diving deep into research on health and wellness, she's spending here time out in nature, growing her homestead, photographing wildlife, doing yoga or enjoying a zen (depending on the day) moment with her fur babies. And on top of all of that, she's a professional writer by day, helping businesses around the world grow.