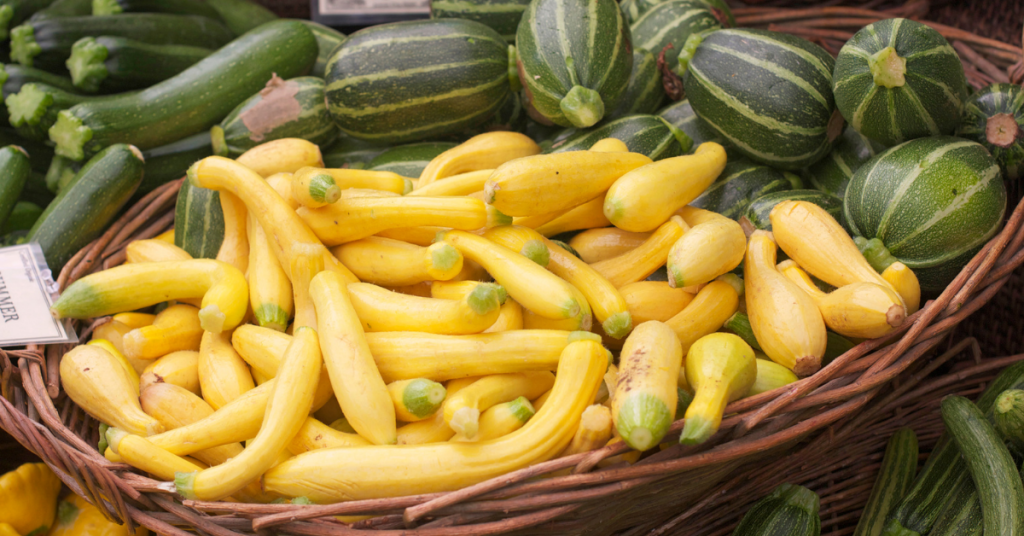
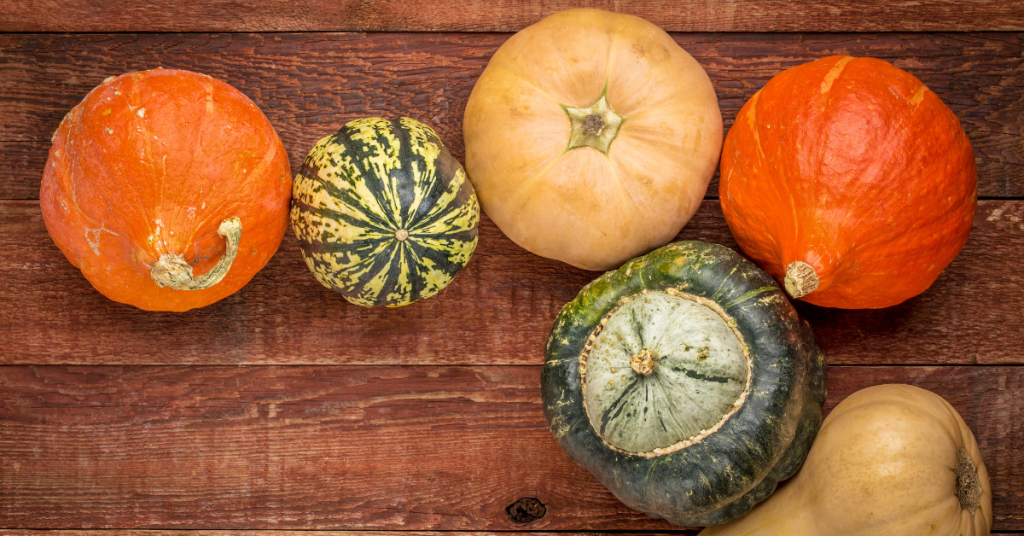
If you have a backyard garden, there’s a good chance that you have at least one type of squash growing either in the summer or fall. In fact, there are more than 100 types of squash. Along with butternut, acorn, zucchini and the beloved pumpkin, you have Hubbard, kabocha, spaghetti squash, sweet dumpling and dozens of other squash varieties.
Each variety produces seeds that you can save, dry and store for next year’s planting. Let’s look at how to prepare your seeds for storage and answer some questions about squash seeds.
Do Zucchinis Have Seeds?
Yes! Zucchinis do have seeds. This popular summer squash is easy to grow, but you’ll need to sacrifice a few crops to save the seeds.
When you harvest zucchini to eat, you’ll notice that they have small seeds at the center. The seeds are easier to see if you cut your zucchini into slices instead of quarters or half-moons. Unfortunately, these seeds are immature and not ready for drying or saving. Seeds are best harvested from zucchini that are left to grow to full maturity.
Other varieties of summer squash have similar seeds, including yellow zucchini, crookneck squash, ball squash and pattypan.
In fact, all varieties of squash have seeds. With careful prep and the right timing, you can harvest seeds from any of the squash varieties you grow in your garden.
While you can save and dry seeds from the squash you buy at the store or farmer’s market, they may not breed true. The varieties you buy in the store are likely hybrids and may not produce exactly the same fruit. Sometimes, it’s fun to experiment, so there’s no harm in going this route as long as you know what to expect.
How To Save Seeds from Squash
No matter your variety, it’s important to know how to harvest and save squash seeds to prepare them for drying. The process you use will generally depend on whether it’s a summer or winter squash.

Saving Seeds from Summer Squash
Summer squash includes:
- Green zucchini
- Cousa squash
- Chayote squash
- Yellow zucchini
- Luffa squash
- Pattypan
- Round zucchini
- Crookneck squash
- Zephyr squash
- Yellow straightneck
- Romanesco squash
To save seeds from summer squash, you’ll first need to let the fruit mature beyond its edible stage. At this point, your fruit should be huge with tough skin.
- Slice open the squash. You may need a sharper knife to pierce the tough skin.
- Scoop out the seeds and pulp. Compost the rest of the fruit.
- Place the seeds and pulp in a clean container, and fill it with just enough water to create a wet mass.
- Allow the seeds to sit in a cool, dark place for 1-2 days.
- At this point, the seeds and flesh should have a funky smell, and the seeds should easily separate from the pulp.
- All of the viable seeds will have sunk to the bottom of the container, while the pulp and unviable seeds will be floating.
- To remove the viable seeds, dilute the mixture by adding more clean water.
- Pour off the liquid, floating seeds and pulp.
- Remove the seeds that are at the bottom of the container, and place them in a clean sieve or fine screen.
- Spray the seeds down to clean them off one last time.
- Now, they’re ready for drying.

Saving Seeds from Winter Squash
Types of winter squash include:
- Butternut
- Acorn
- Pumpkin
- Hubbard
- Kabocha
- Banana squash
- Buttercup
- Carnival
- Delicata
- Spaghetti
- Sweet dumpling
- Turban
- Candy roaster
Winter squash tend to have larger seeds than their summer counterparts, which are much easier to harvest and dry for storing. Their seeds are also great for snacking, so you can save some for roasting if you have more than enough for planting.
To save seeds from winter squash:
- Split the squash in half.
- Scoop out the seeds and pulp.
- Place the seed/pulp mix in a colander or sieve.
- Use the sprayer on your faucet to help separate the seeds from the pulp, or use your fingers to separate them.
- Once separated, give the seeds one last rinse in the colander or sieve.
- Now, they’re ready for drying.
How To Dry Squash Seeds for Planting
Now that you’ve harvested and cleaned your seeds, it’s time to dry them and get them ready for storage.
The drying process is the same for both summer and winter squash varieties.
- After cleaning, lay the seeds out on wax paper or a paper plate to dry out overnight.
- The next day, carefully transfer the seeds to trays lined with paper towels and allow them to dry out for another 2-3 weeks.
- Make sure your seeds are spread out in a single layer to promote good airflow.
- Check on the seeds regularly and turn them to ensure all parts of the seeds have a chance to dry out.
Keep your seeds in a cool, dry and dark space while they’re drying.
Once fully dry, you can store your seeds in a safe place until they’re ready for planting next growing season.
Not sure how to store your seeds? Check out our detailed guide!
Rene is a creative, little gnome. When she's not diving deep into research on health and wellness, she's spending here time out in nature, growing her homestead, photographing wildlife, doing yoga or enjoying a zen (depending on the day) moment with her fur babies. And on top of all of that, she's a professional writer by day, helping businesses around the world grow.

